


1. What Data Can You See on the Controller?
1.1 Time Display:
Quickly check the current date and time in your grow room with ease.
1.2 Day/Night Icon:
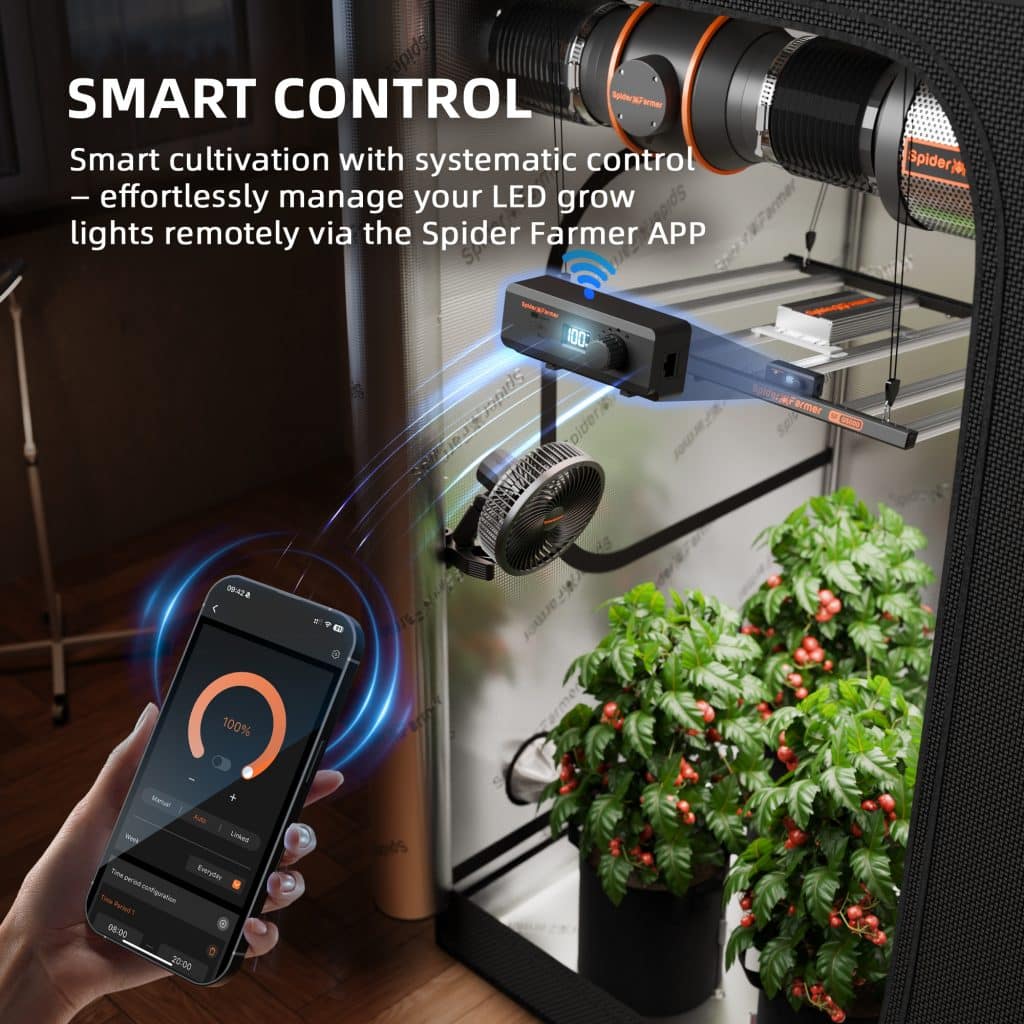
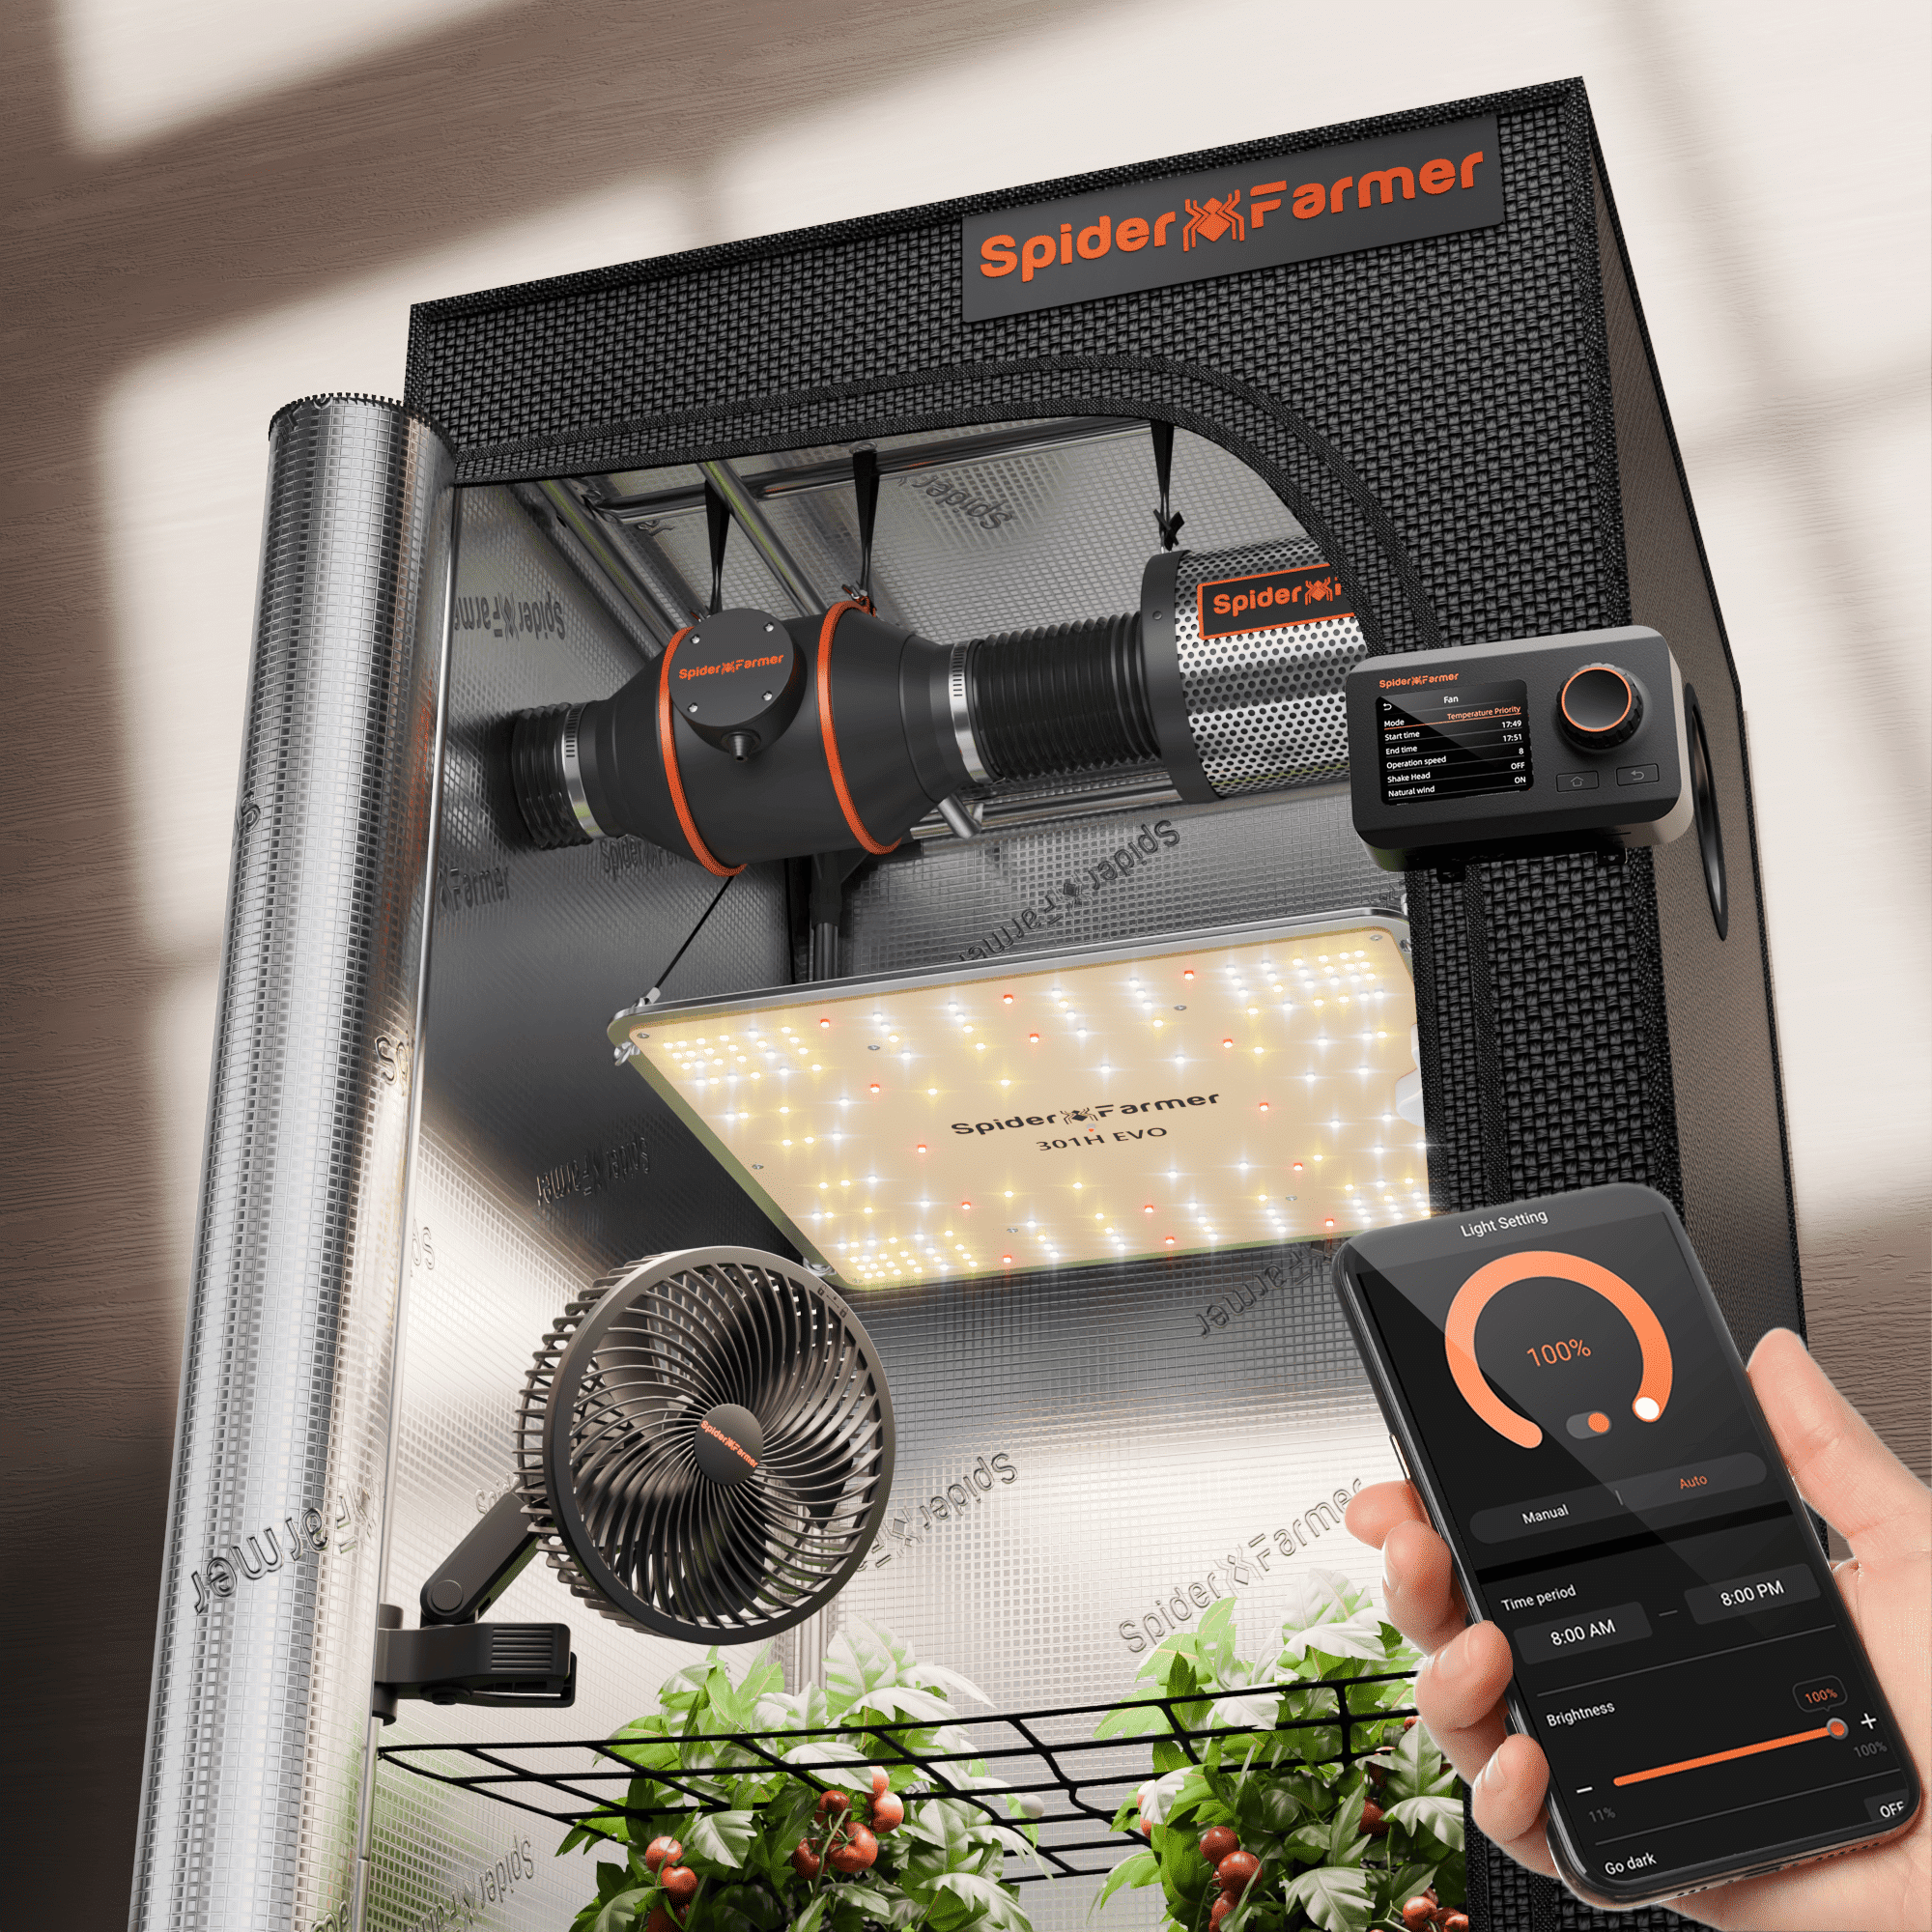
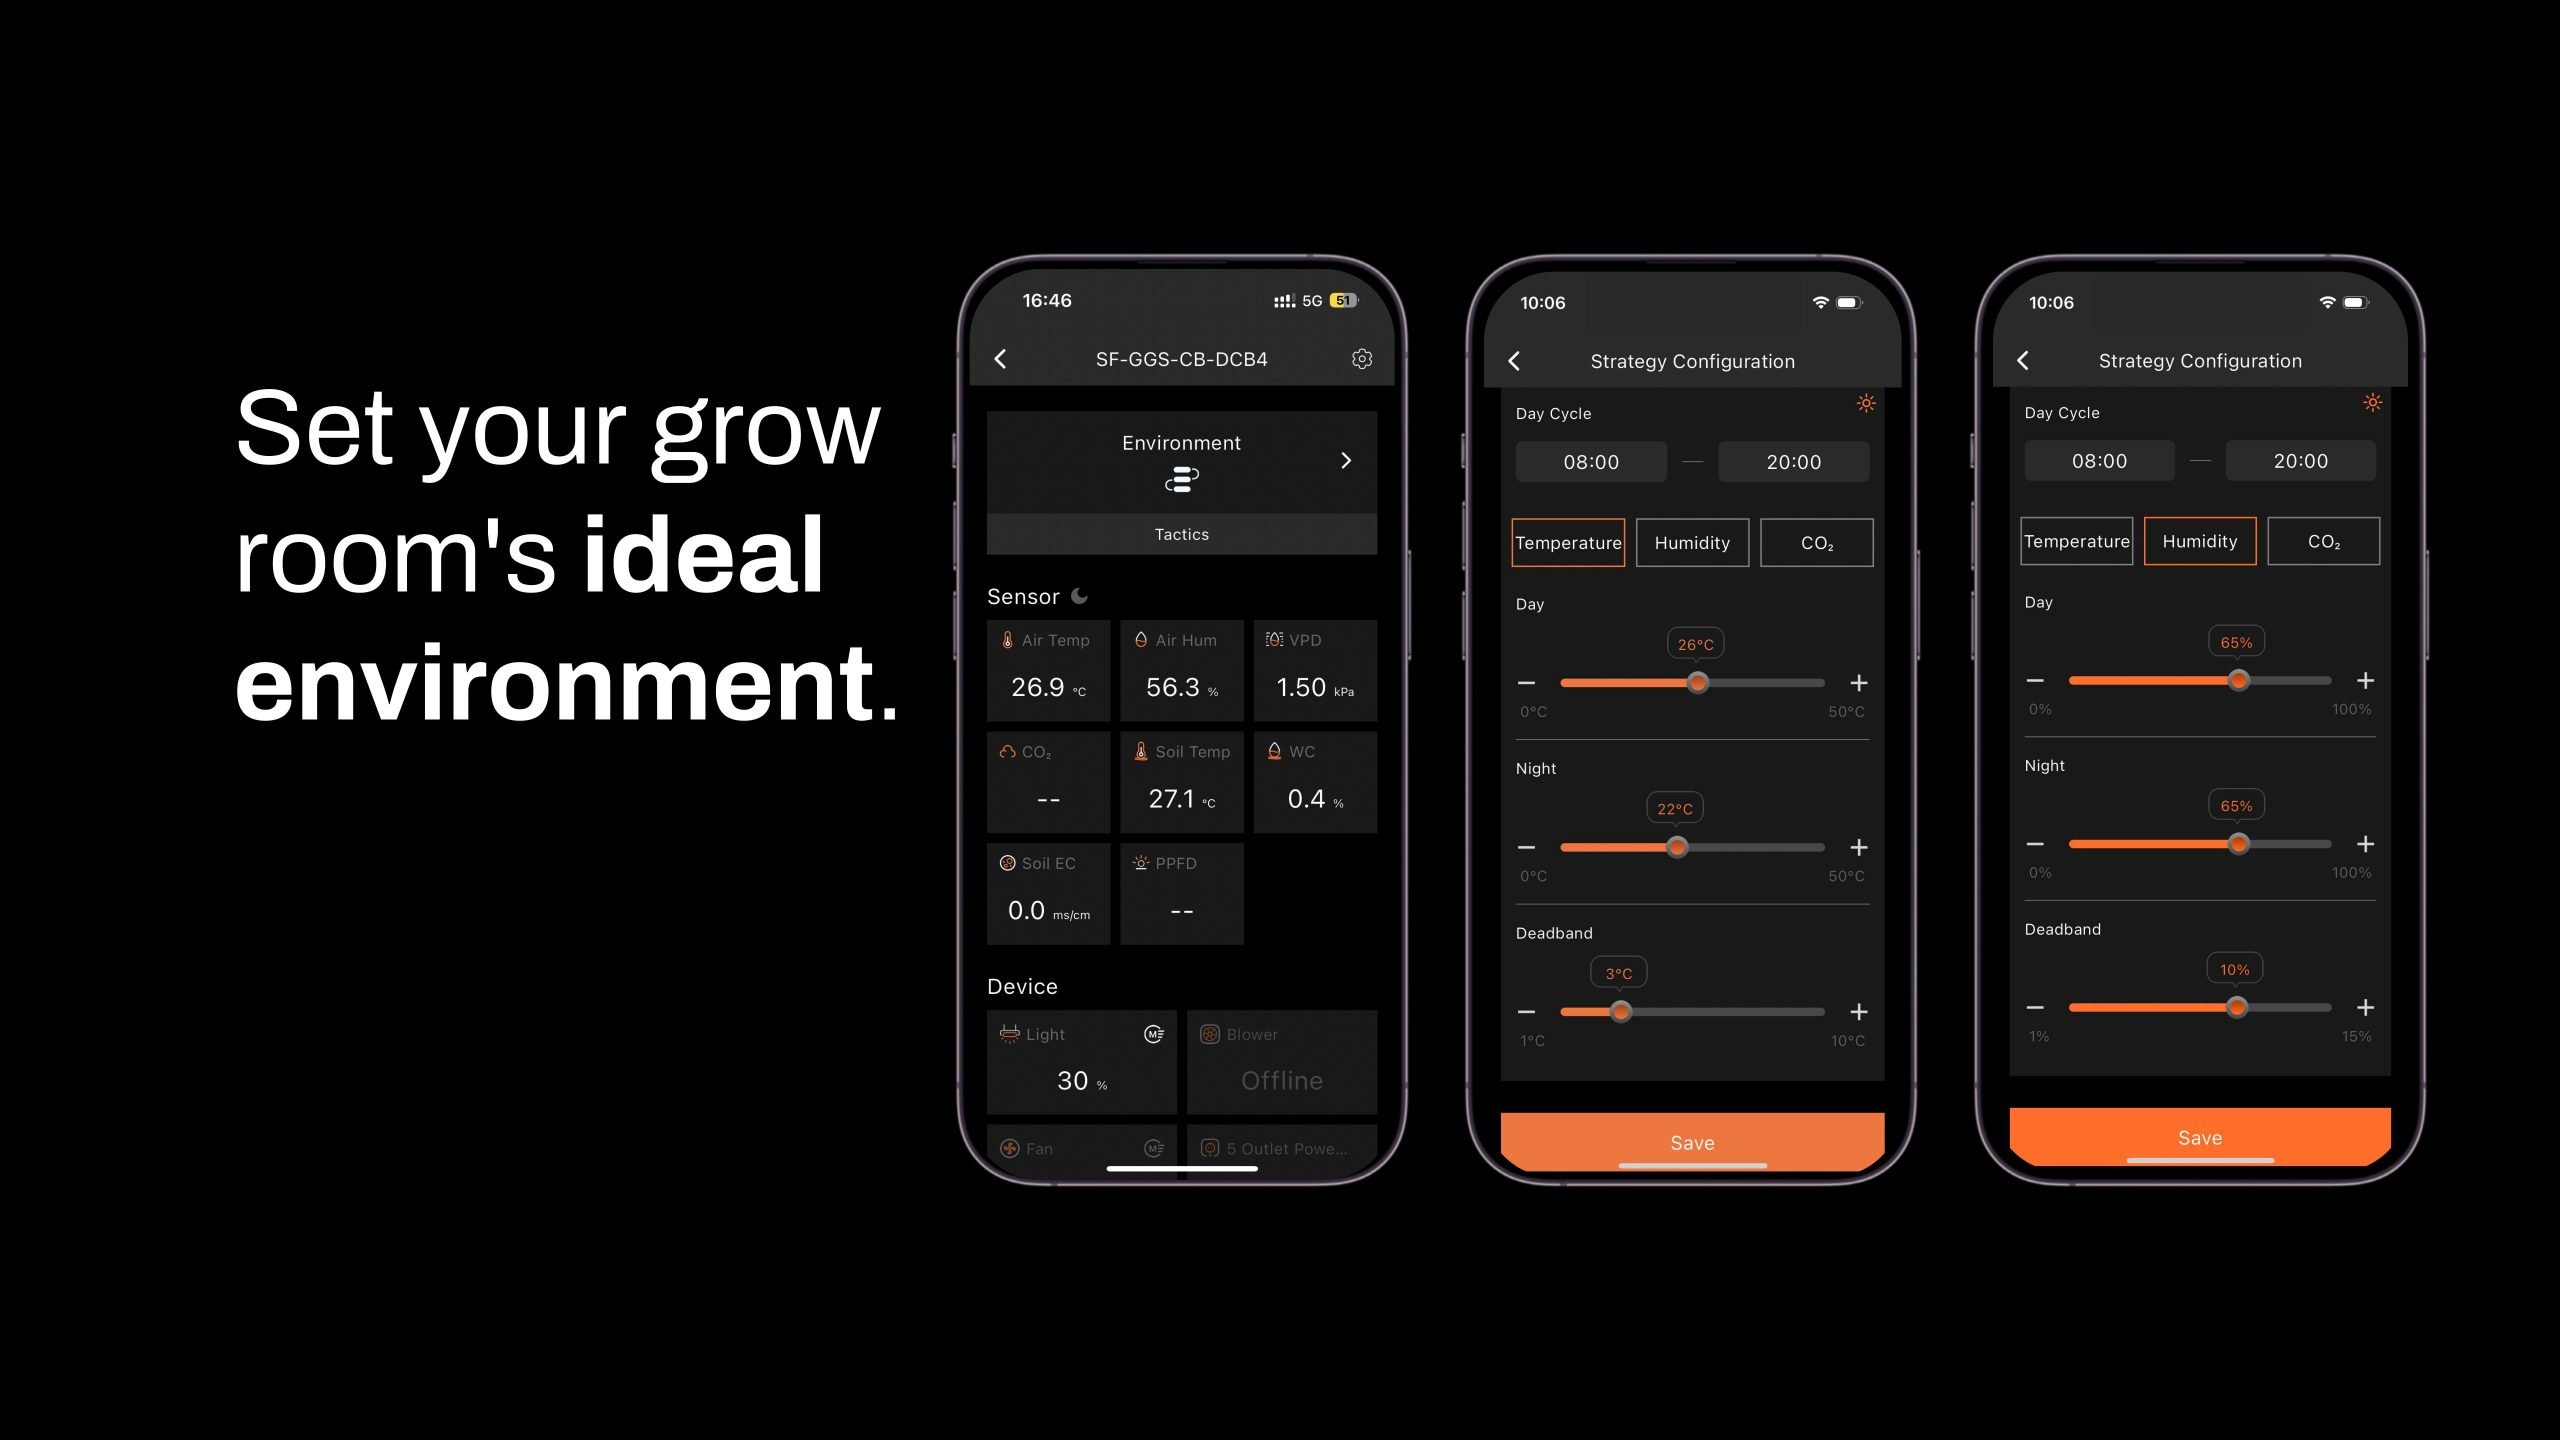
See at a glance if your grow tent is in its light or dark cycle. A sun icon appears when light is detected, and a moon icon shows during dark periods. This feature allows you to monitor light conditions without opening the tent. Plus, the controller can be managed remotely through the Spider Farmer app, so you can keep tabs on your grow tent even when you're away. (Requires the temperature, humidity, and light sensor included in this GGS controller kit)
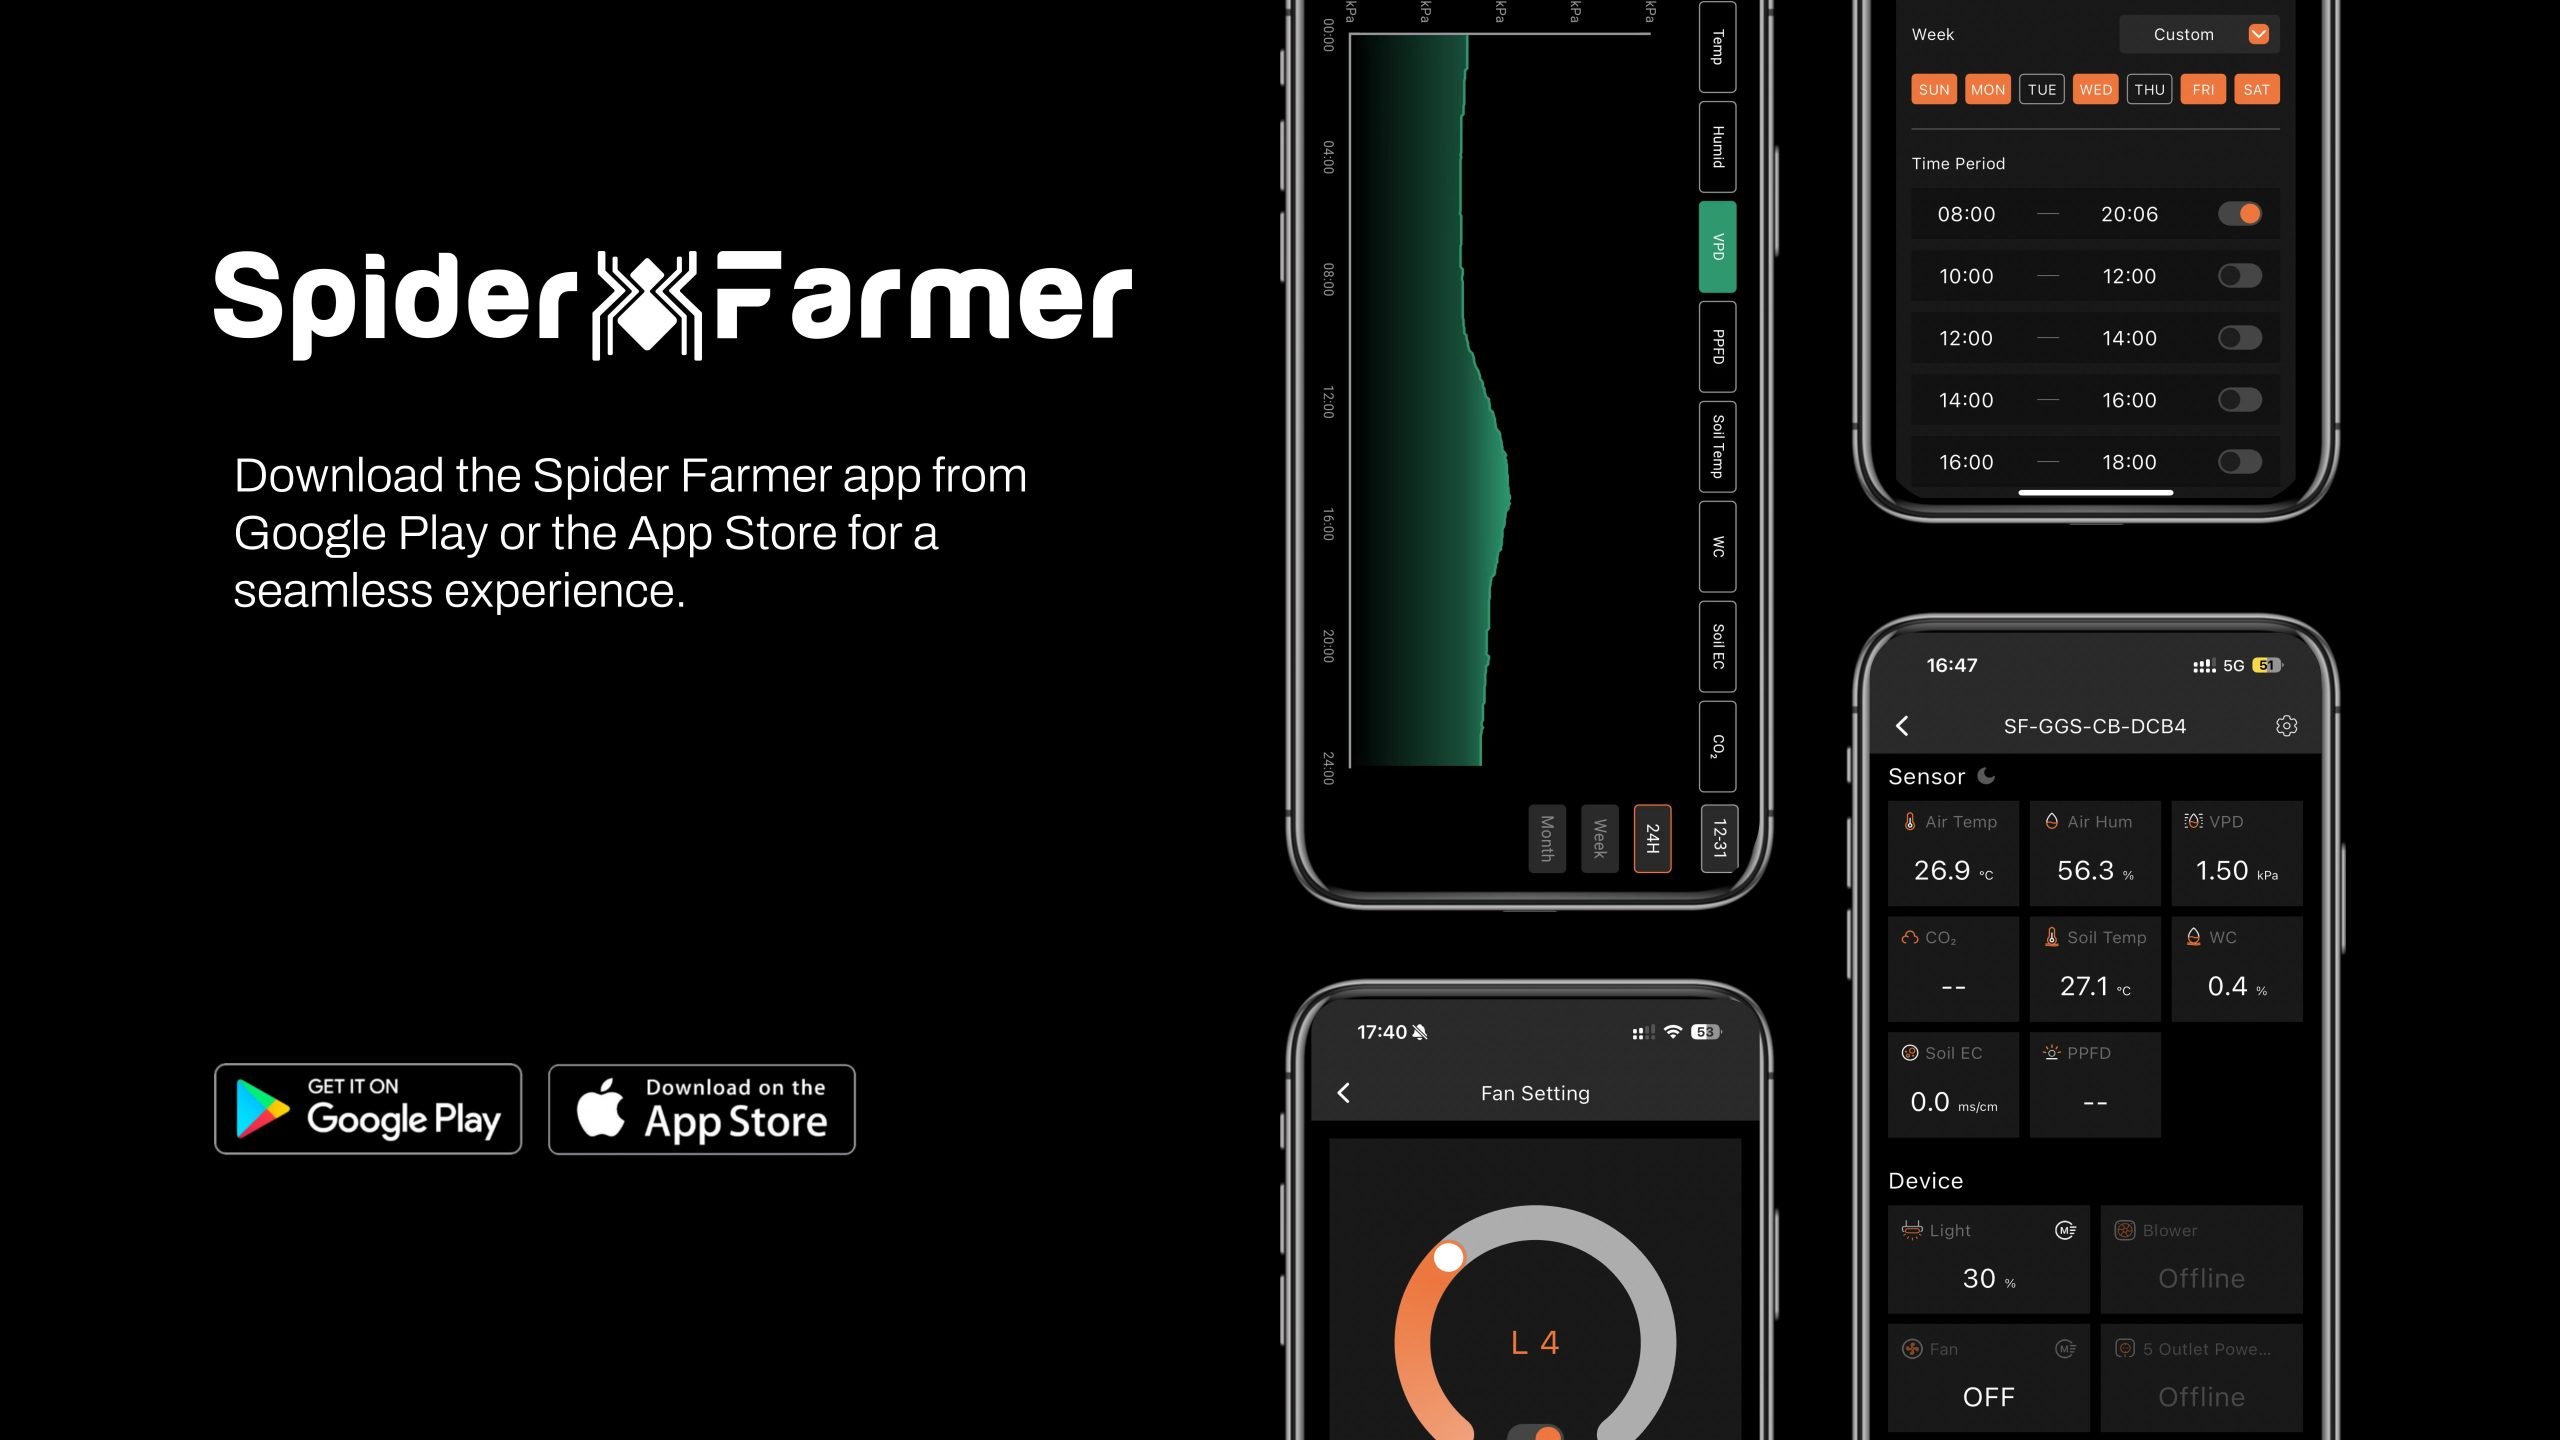
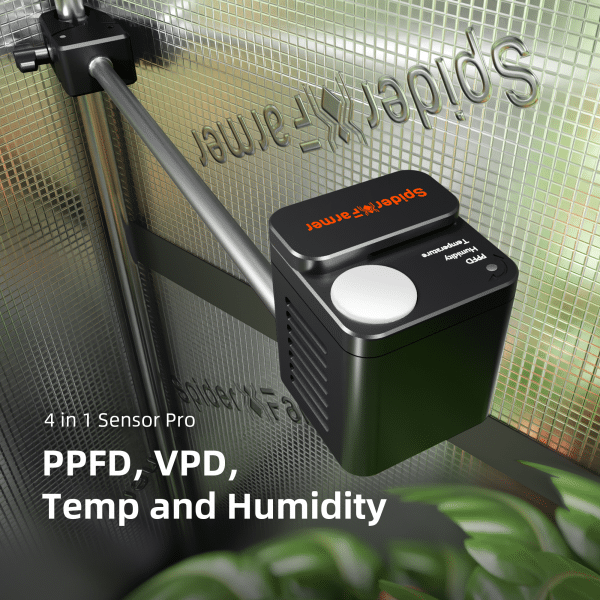
1.3 VPD and Temperature/Humidity Display:
Get precise readings for temperature, humidity, and Vapor Pressure Deficit (VPD). (Requires the temperature, humidity, and light sensor included in this GGS controller kit; if the sensor is not properly connected, two dashes will appear on the display.Tip: Place the sensor at canopy level in the center of your growing area for the most accurate readings.)
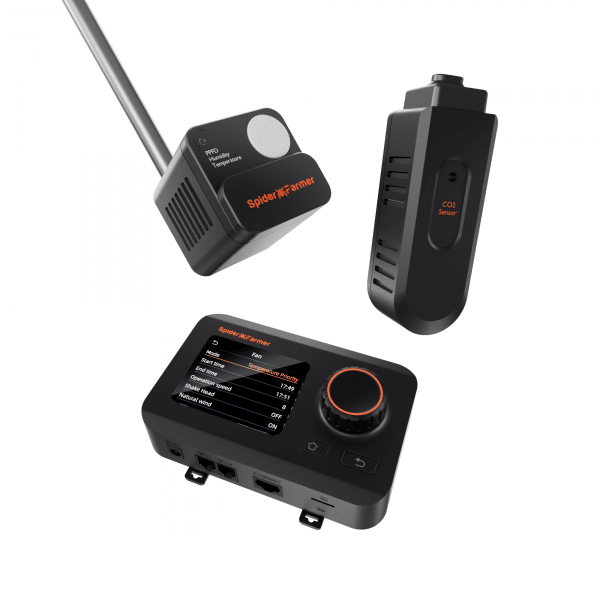
1.4 CO₂ Display:
(This kit doesn't include the sensor required to measure that data. Please purchase the GGS Sensor Pro Kit separately.)
With an optional CO₂ sensor, you can directly monitor CO₂ levels, enabling you to optimize CO₂ concentration for faster growth. (Note: This sensor is sold separately and is not yet available in Europe—stay tuned.)
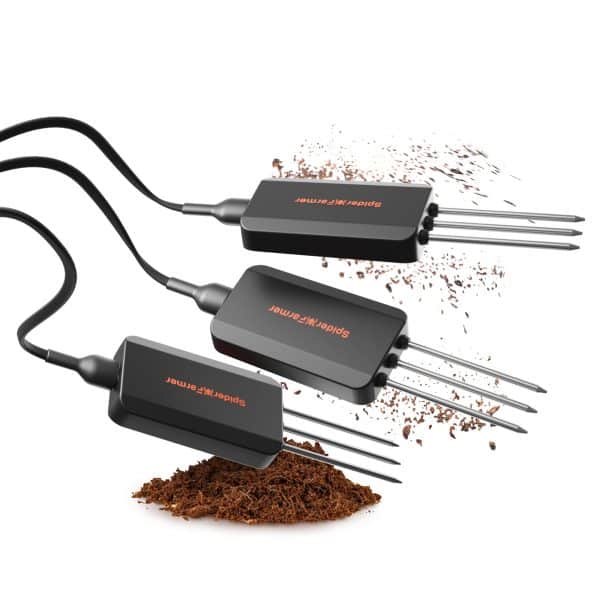
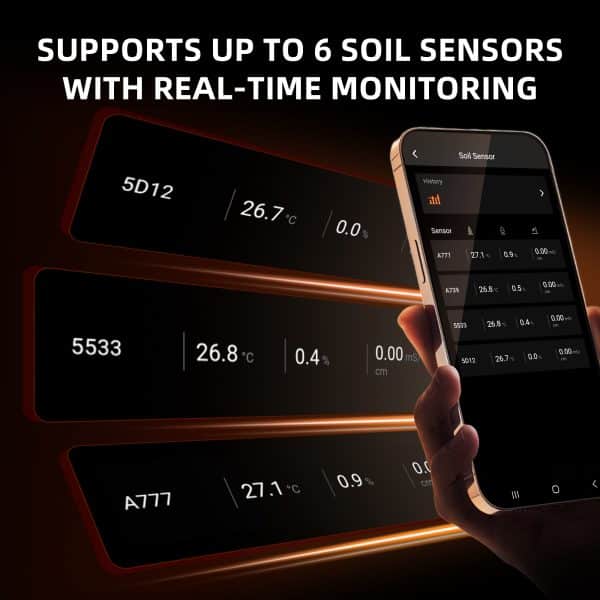
1.5 Soil Data Display:
(This kit doesn't include the sensors needed to measure this data. Only the GGS AC5 Power Supply Kit or the GGS AC10 Power Supply Kit come with the necessary sensors. However, the GGS Power Strip hasn't launched in the UK yet—stay tuned!)
Ideal for soil growers, this display shows real-time soil temperature, moisture, and Electrical Conductivity (EC).
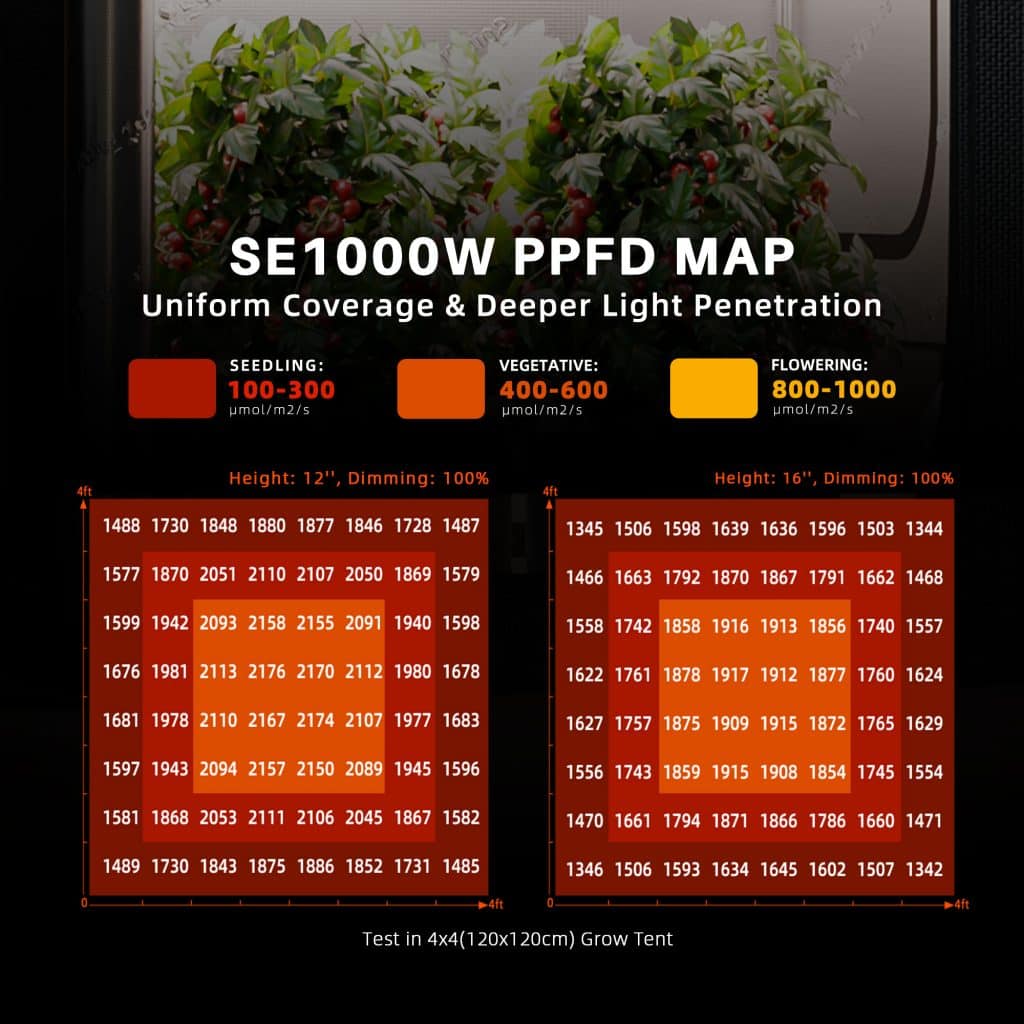
1.6 PPFD Display:
(This kit doesn't include the sensor required to measure that data. Please purchase the GGS Sensor Pro Kit separately.)
Please note: To see PPFD data, you'll need an extra PPFD sensor, which isn’t included in this kit. It’ll be sold separately in the future, but it's not available yet.
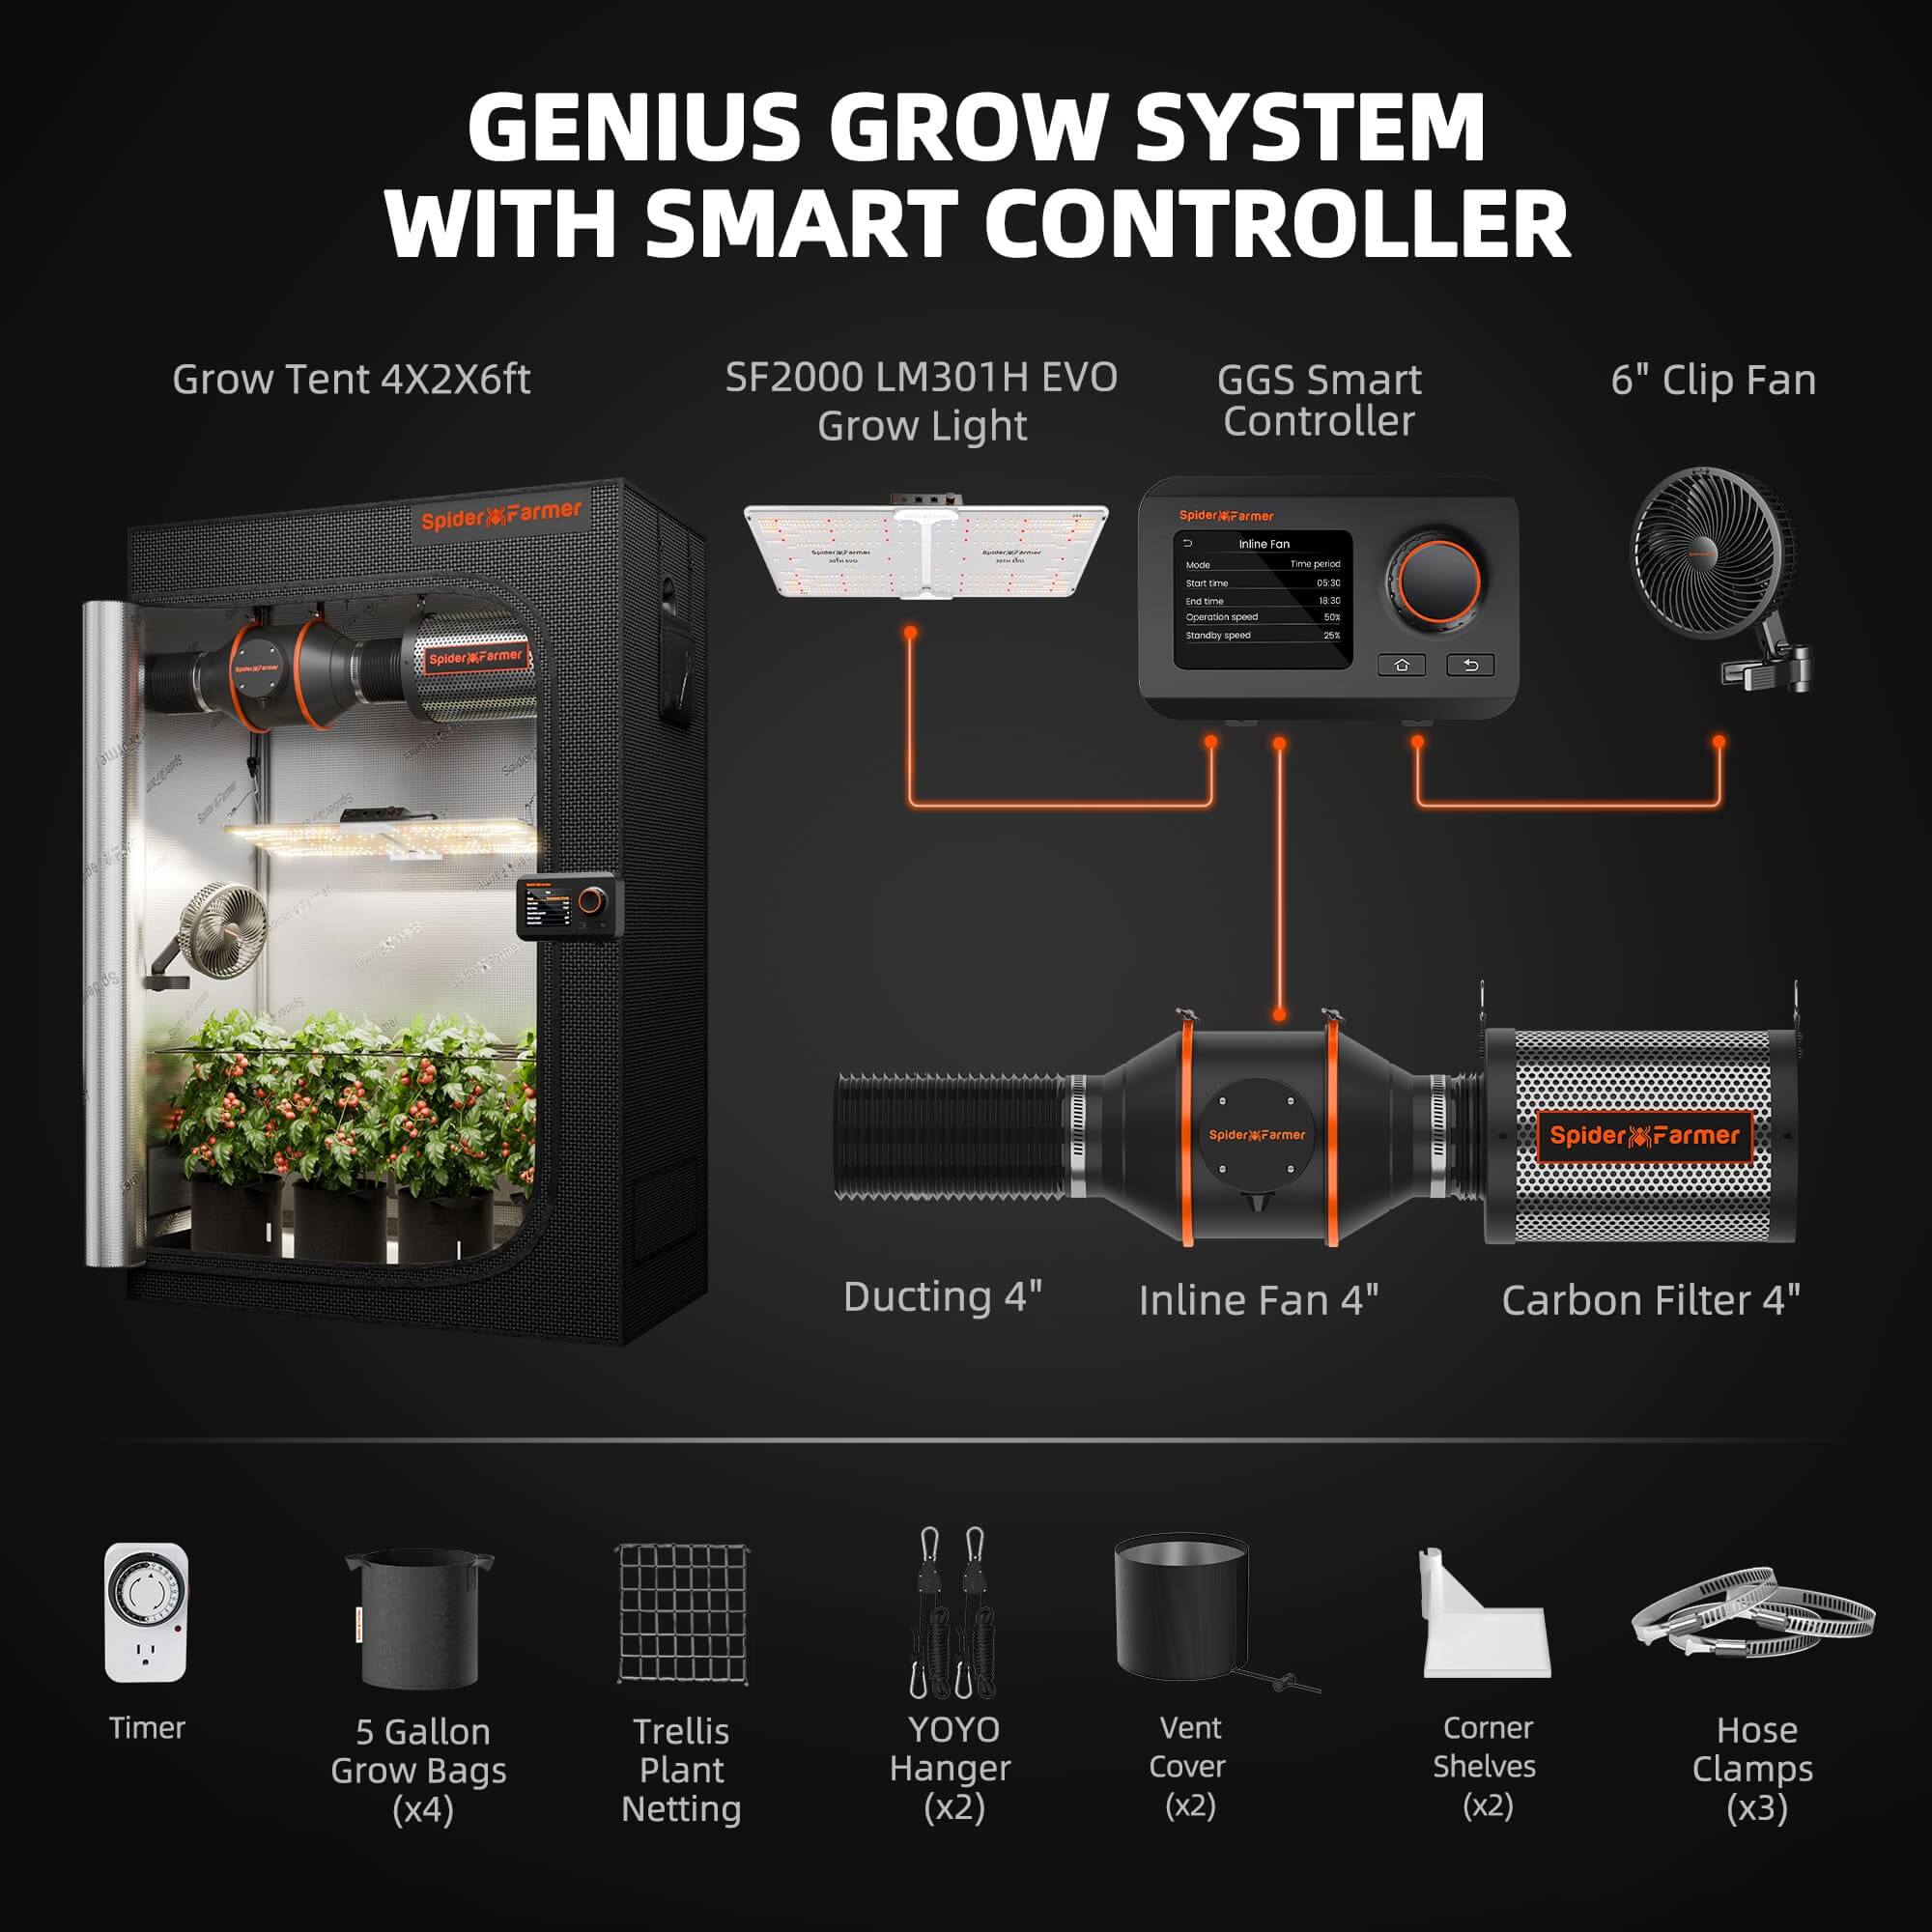
2. Preparations Before Configuring Device Operations
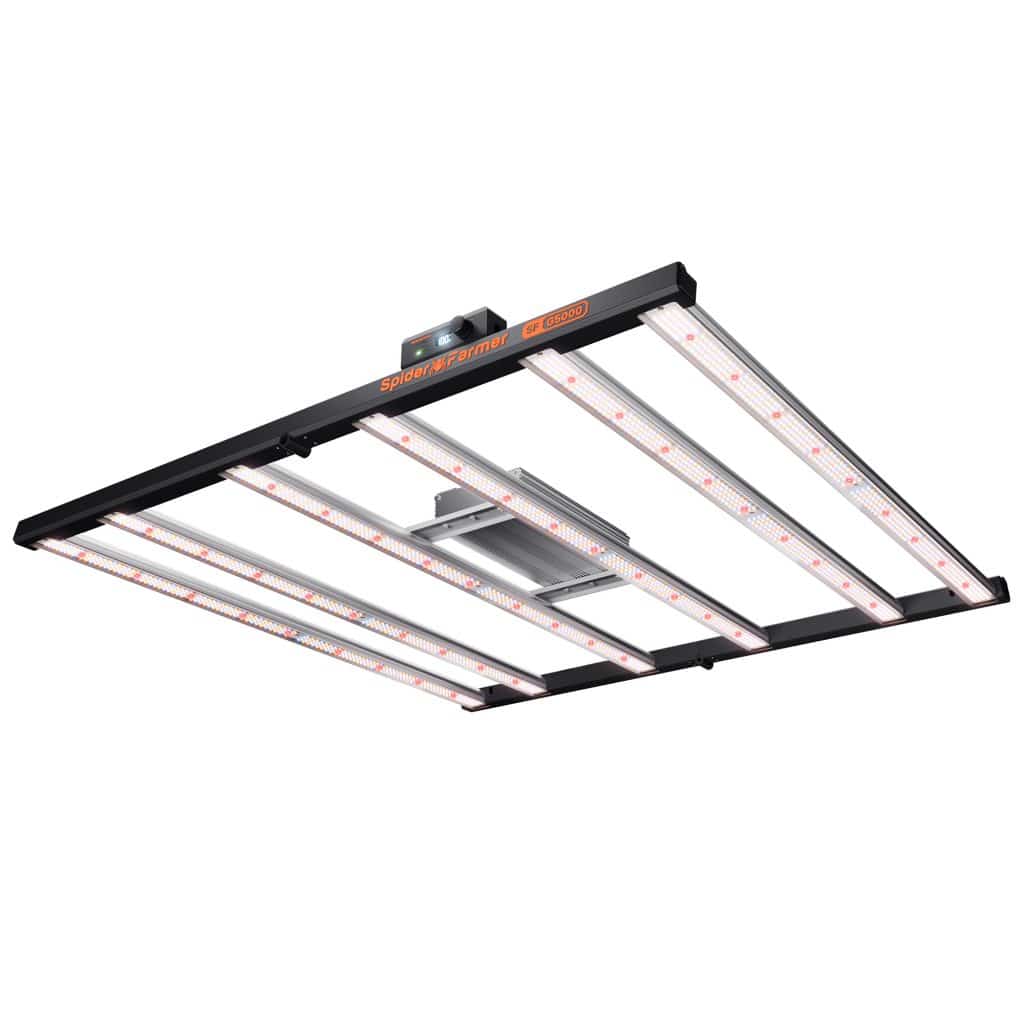
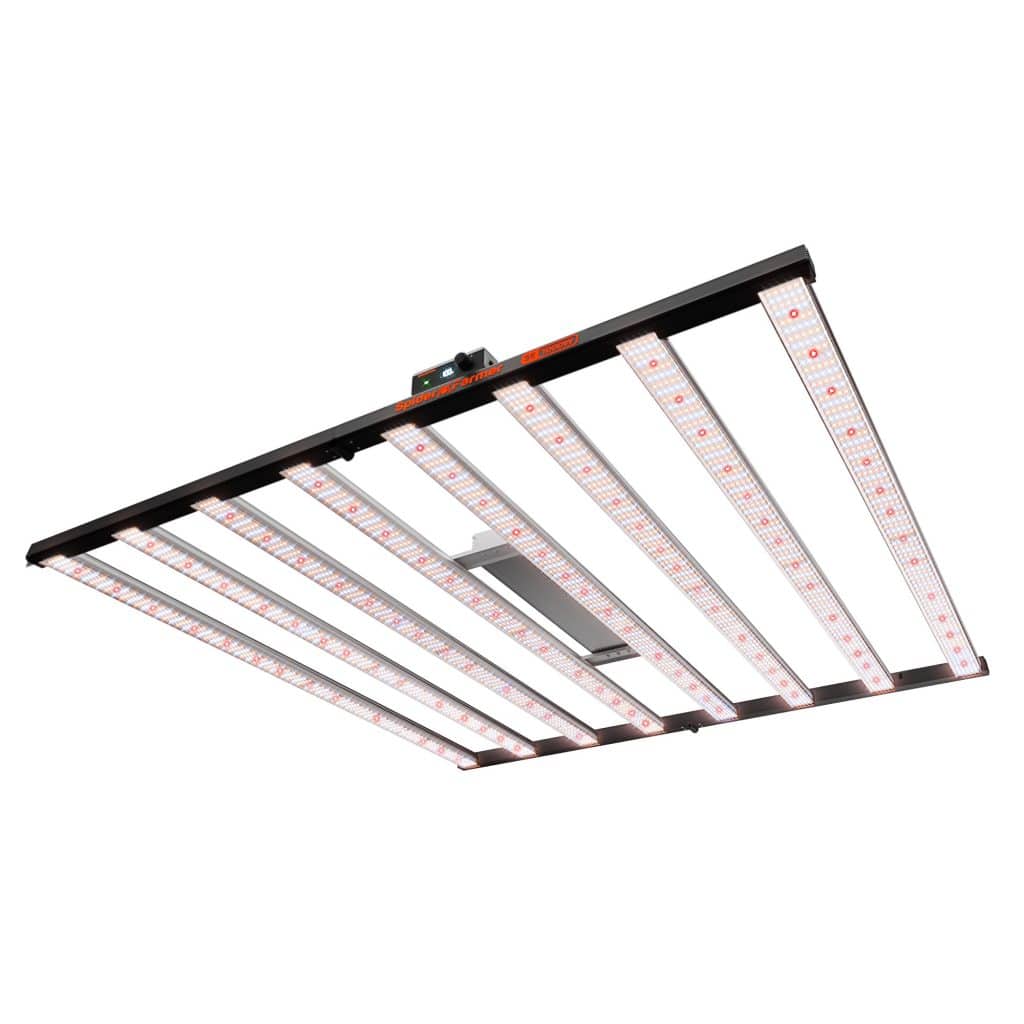
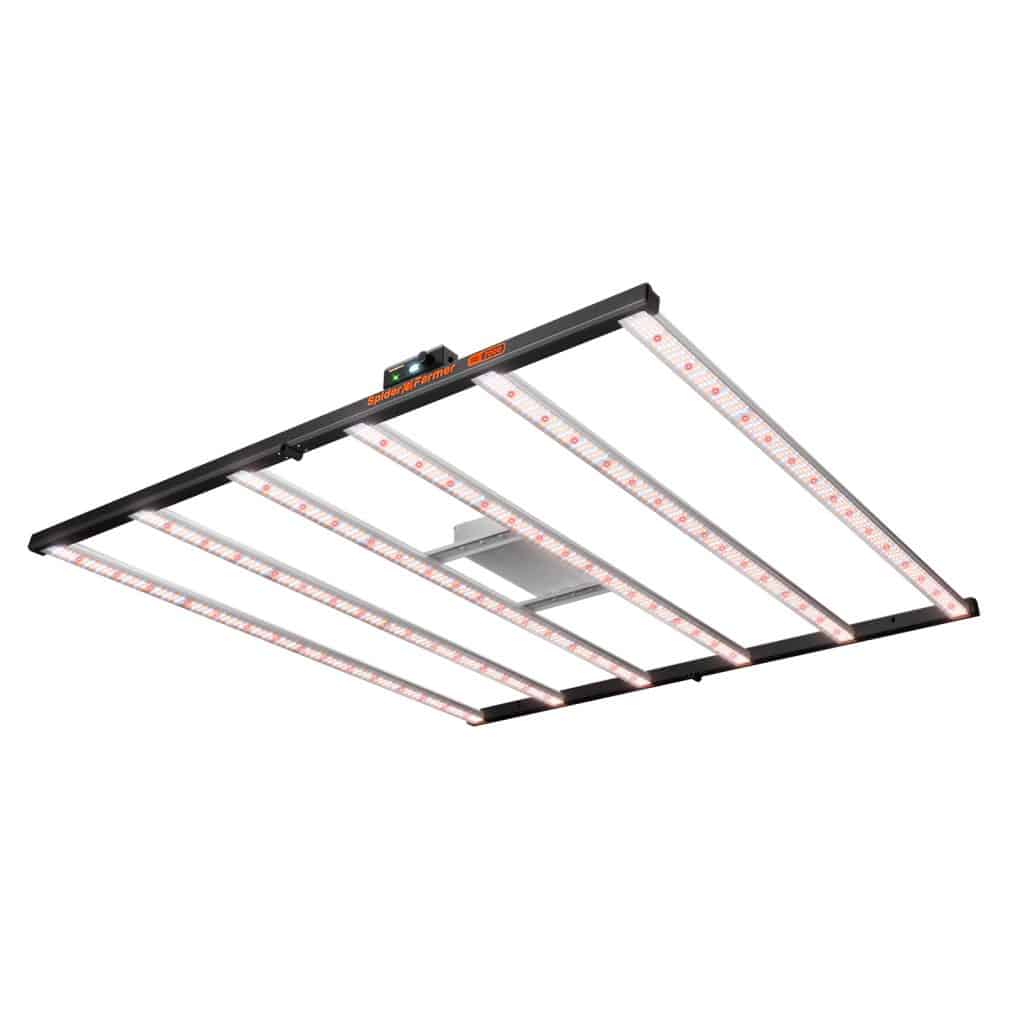
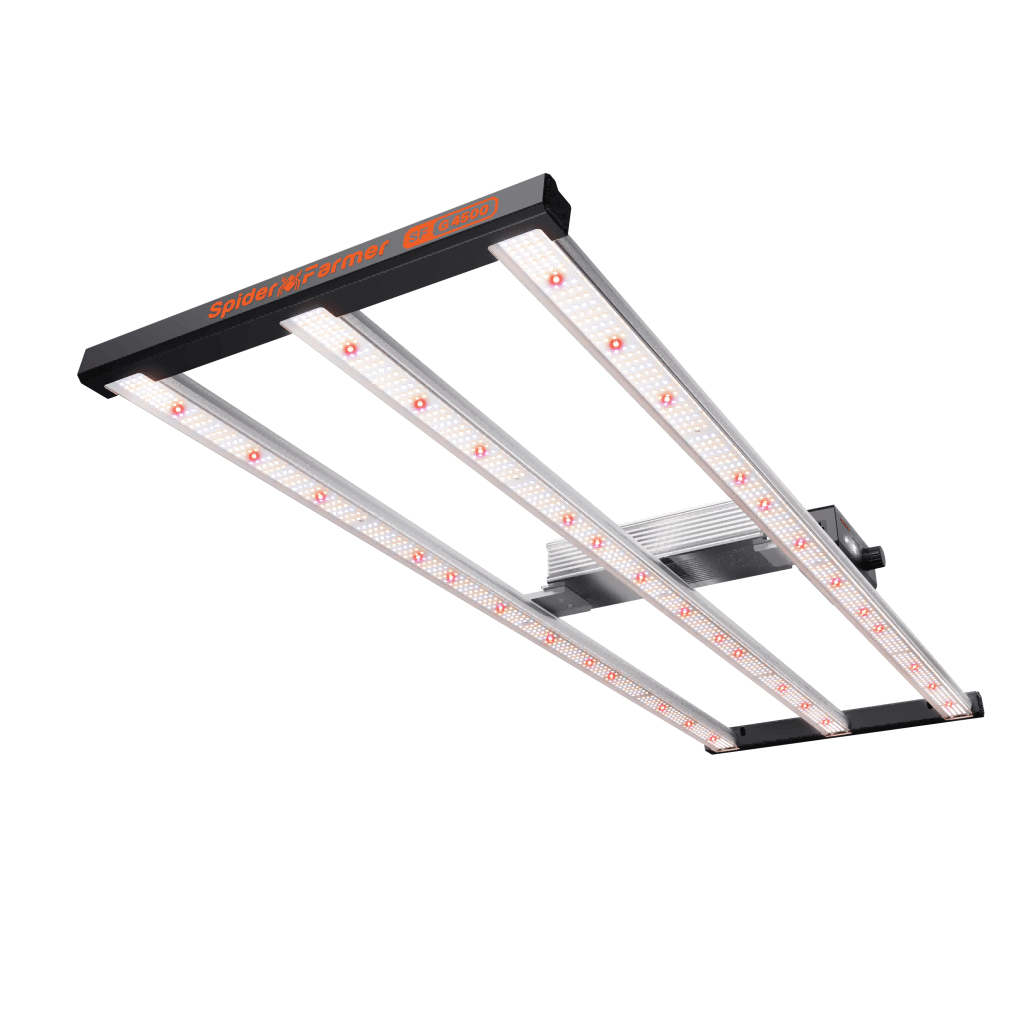
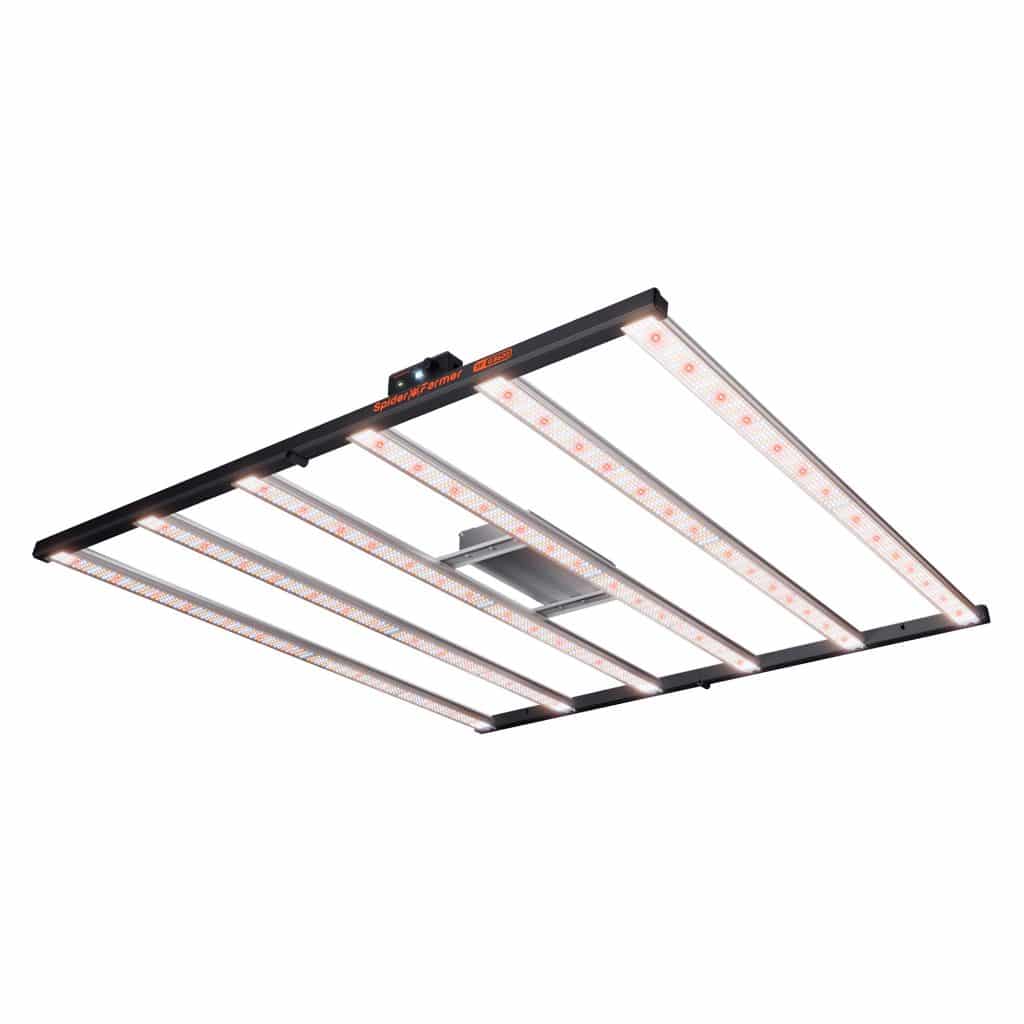
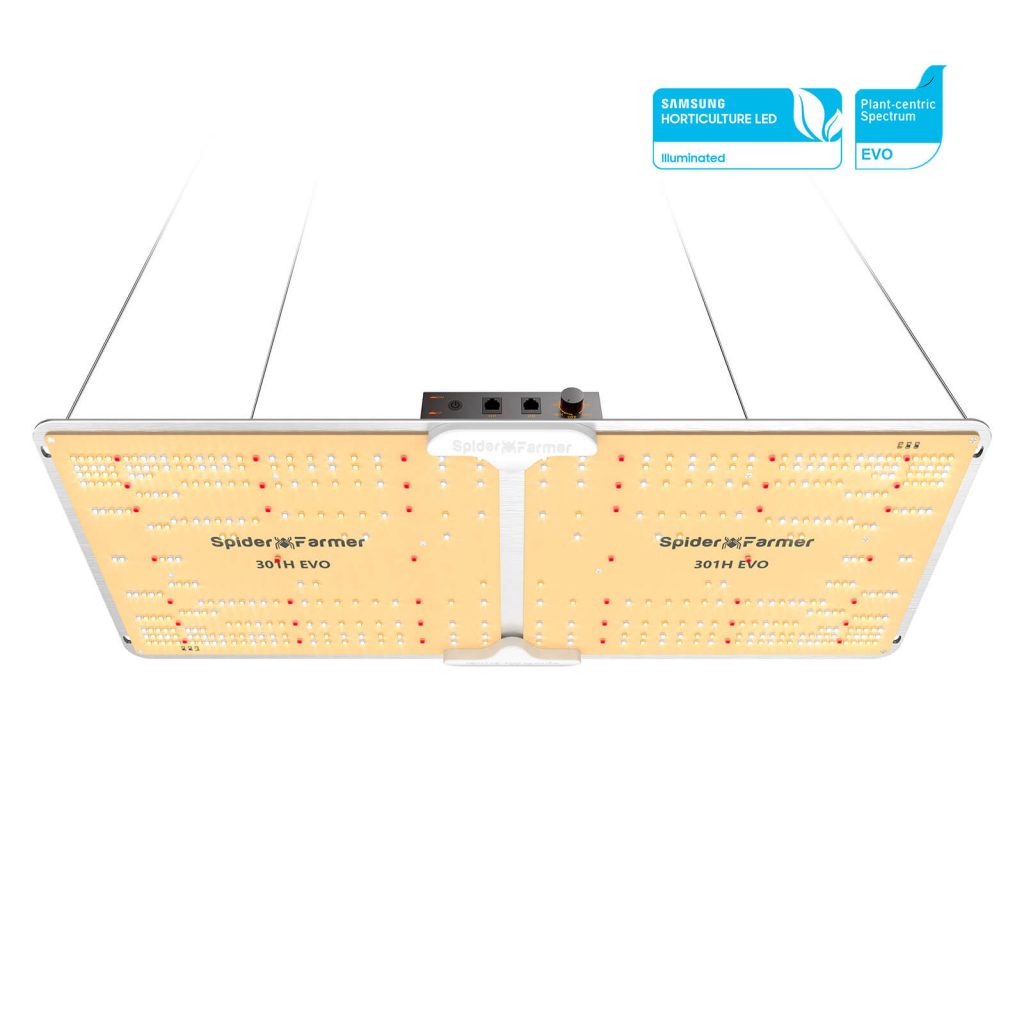
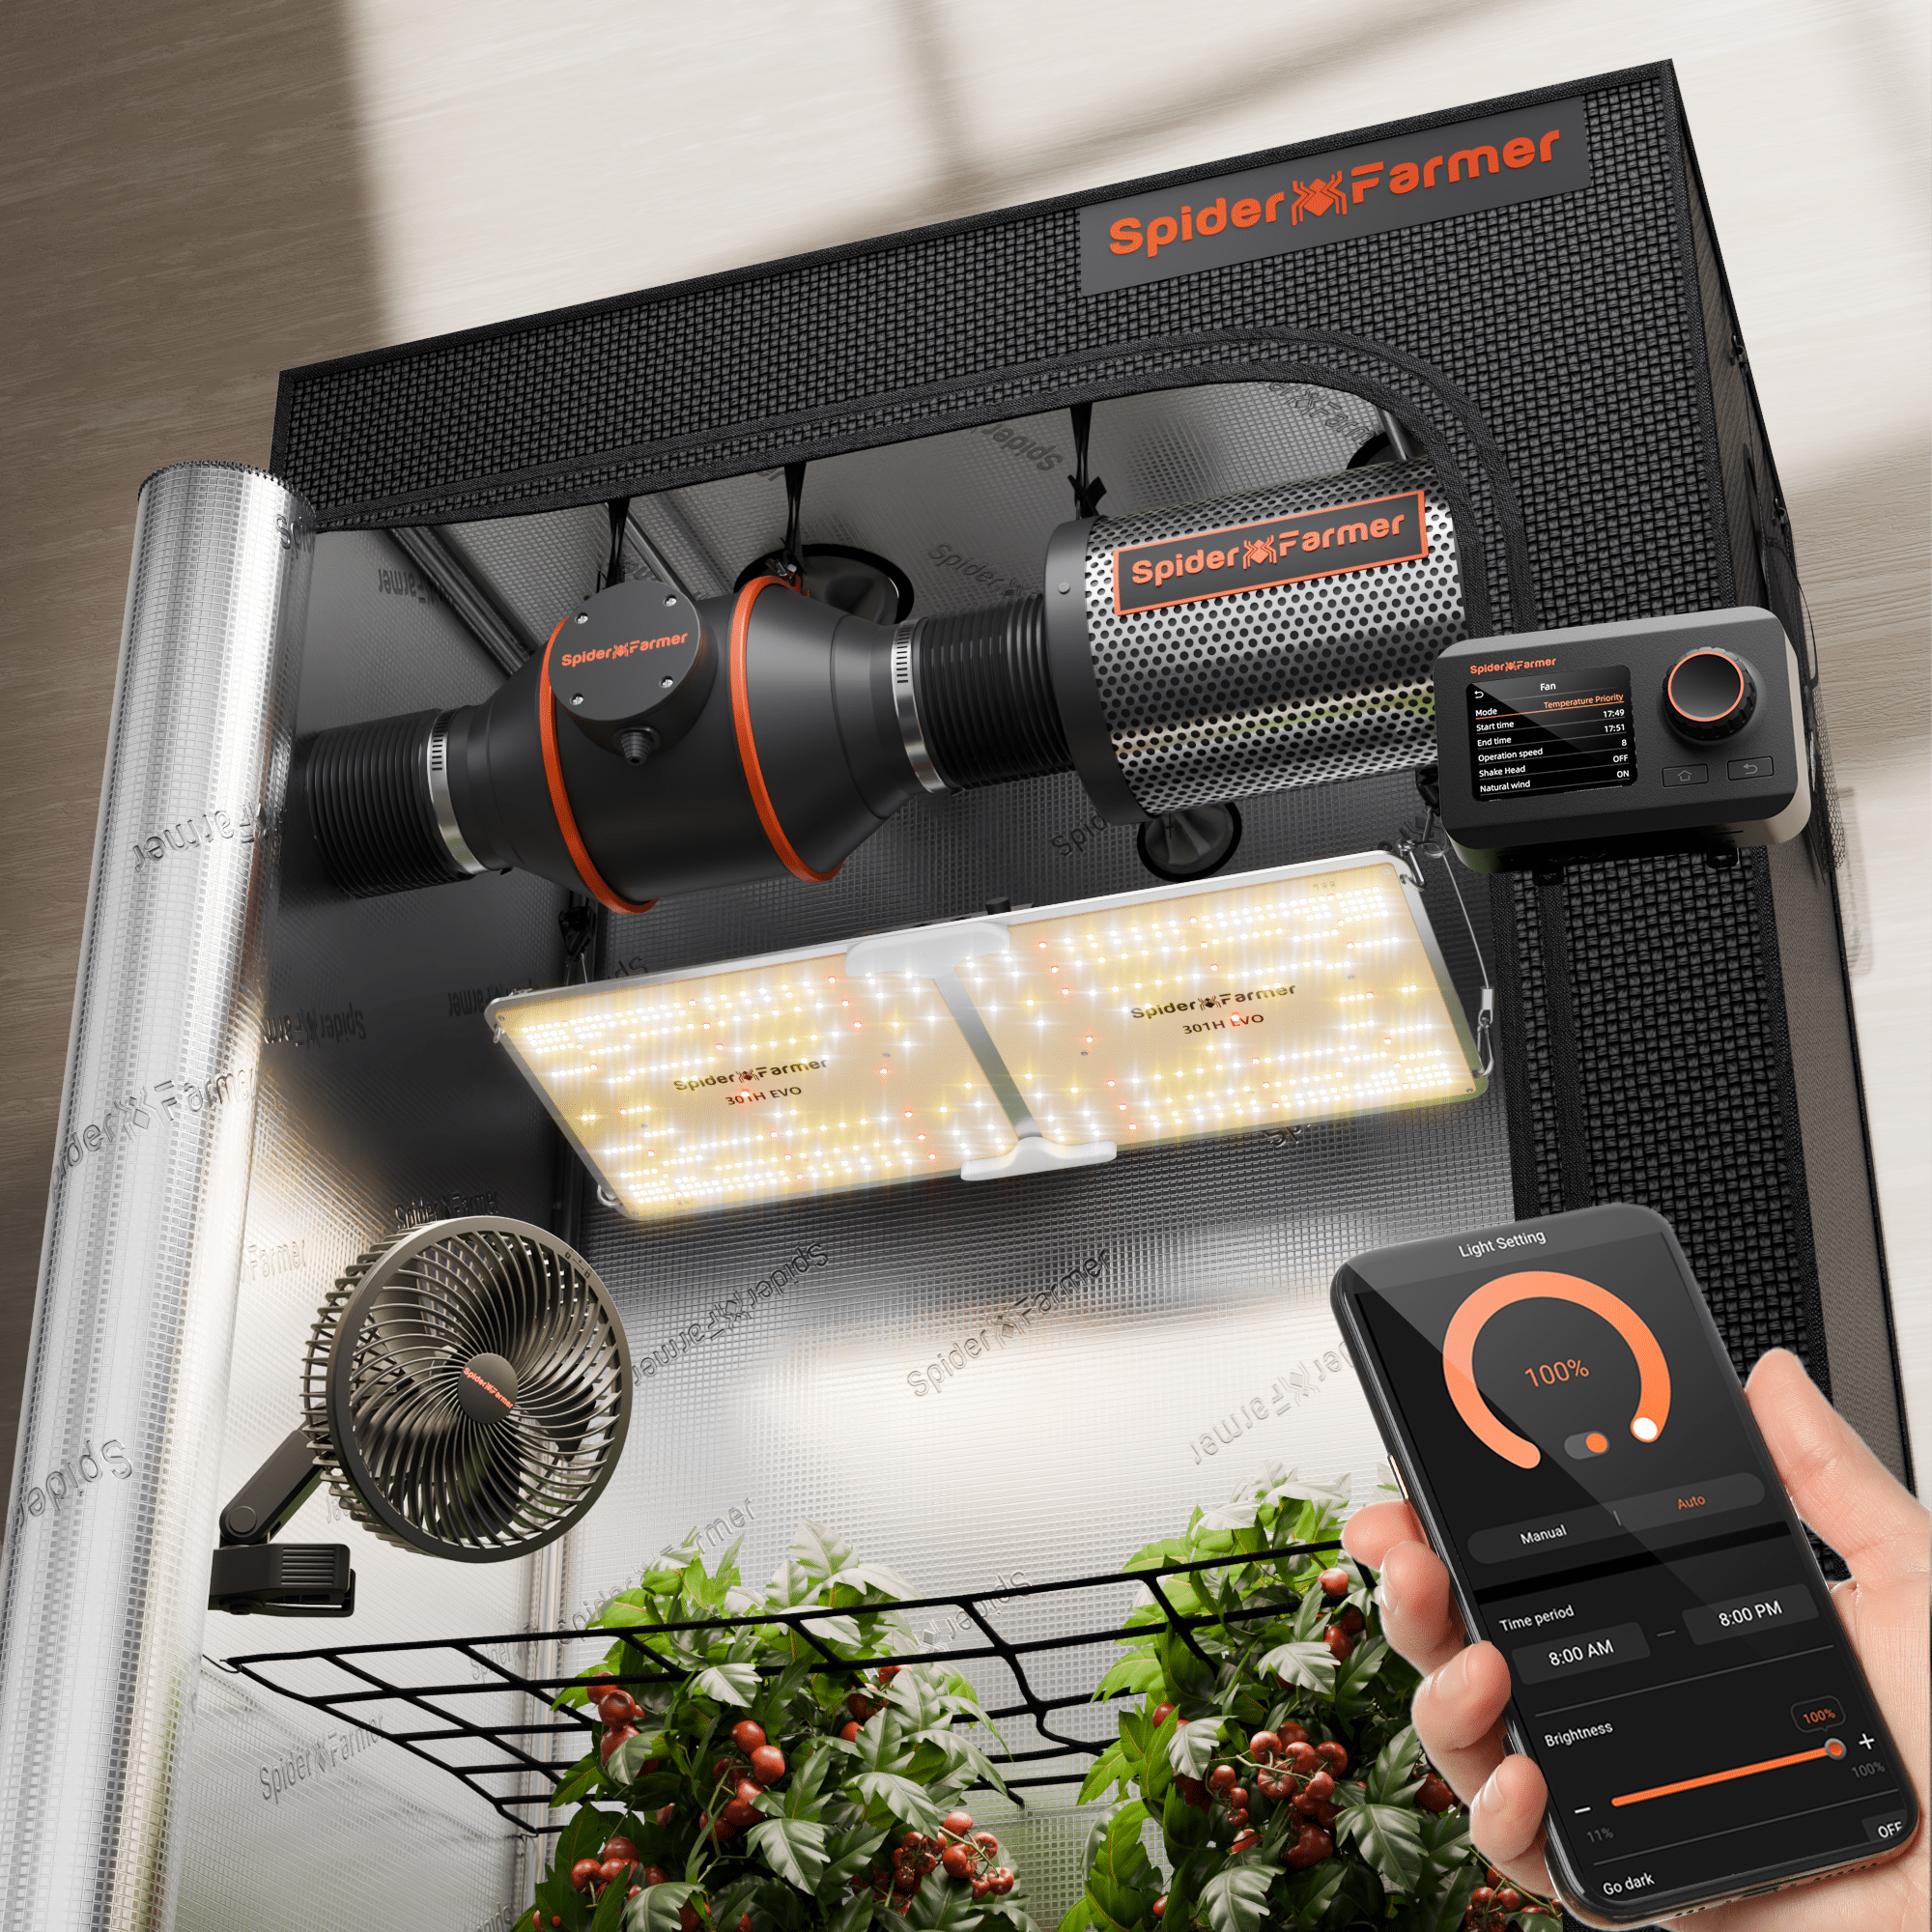
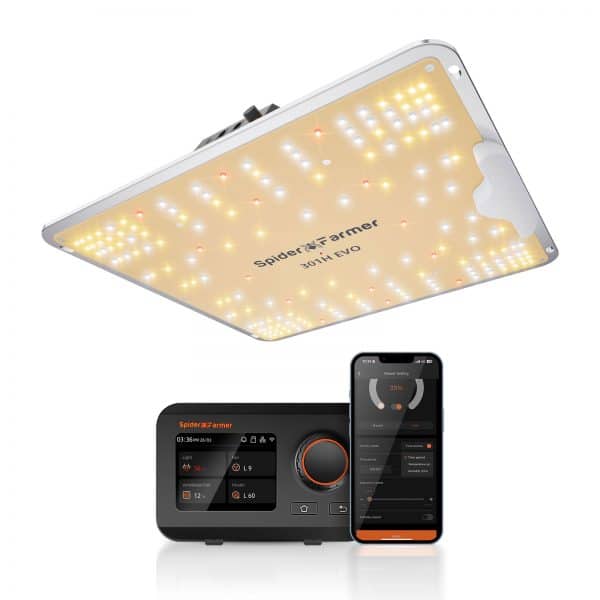
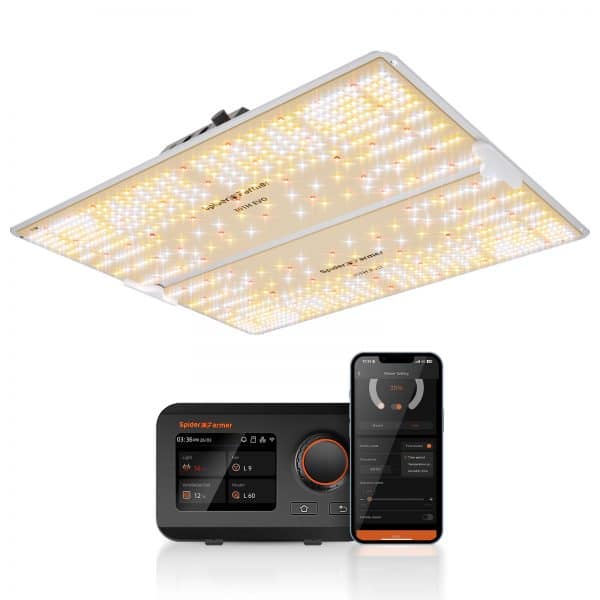
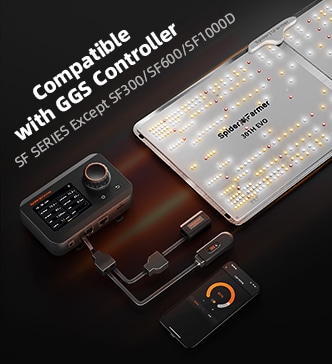
3. How to Control LED Grow Lights (G Series/ SE Series/ SF Series)
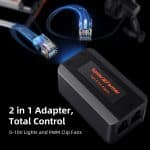
(Note: A GGS 2-in-1 Adapter is required to control LED grow lights through the GGS Controller. This adapter is included in the kit.)

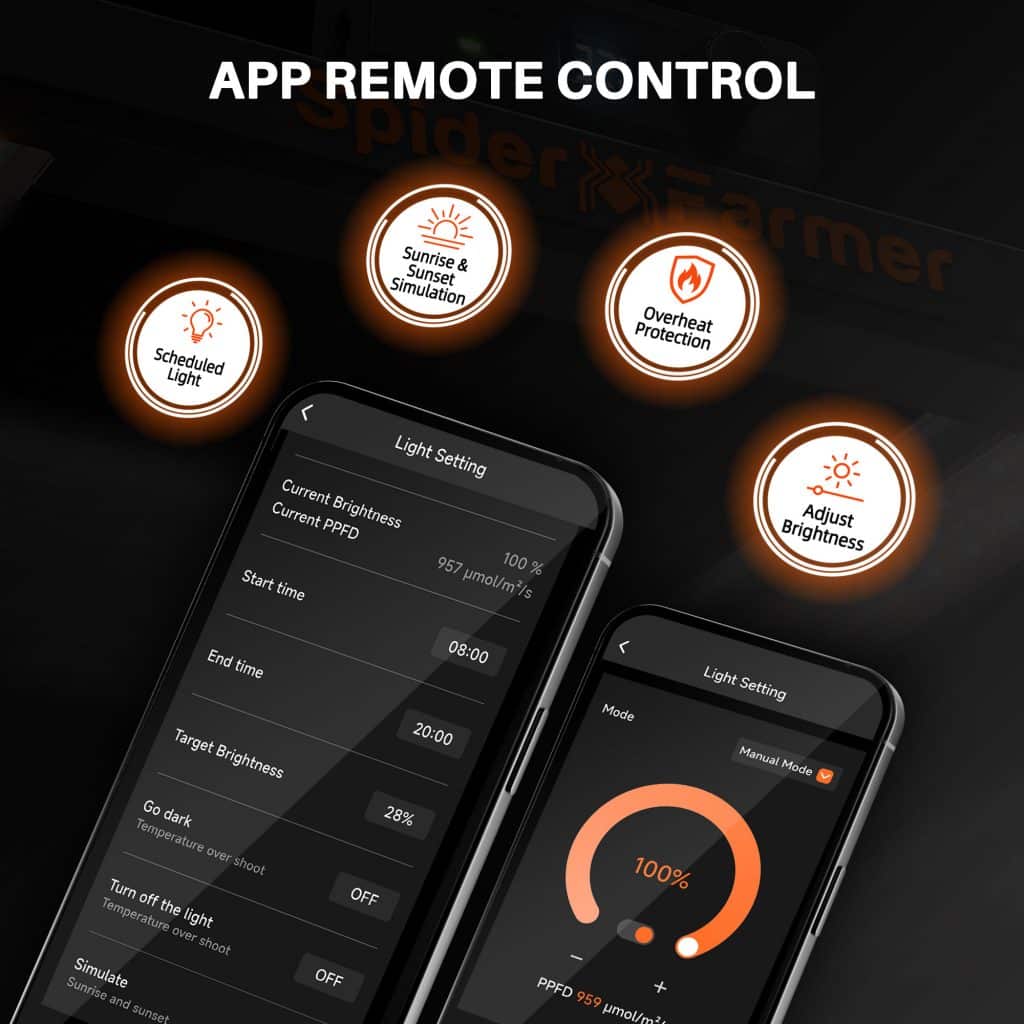
3.1 Manually Adjust Brightness for Precise Light Control:
- Set the brightness anywhere from 10% to 100%, giving you full control over light intensity at any time. For quick shut-off, setting the brightness to 0% will turn the lights off. Any setting between 0% and 10% automatically operates at 10% brightness.
3.2 Automate Your Lighting Schedule:
- 10.2.1 Start and End Times: Easily set specific on and off times for your lights, so your plants get consistent light cycles without manual adjustments.
- 10.2.2 Brightness Levels: Define the exact brightness level for each cycle, ensuring your plants receive optimal light intensity.
3.3 High-Temperature Protection for Your Plants and Equipment:
- 10.3.1 Go Dark: Set a high-temperature threshold for dimming. When the ambient temperature reaches this threshold, the lights will automatically reduce brightness to 11% to prevent overheating.
- 10.3.2 Turn Off: Set a higher temperature threshold for complete shutdown. When this threshold is reached, the lights will automatically turn off to protect your plants and equipment.
3.4 Sunrise/Sunset Simulation:
Activate this feature to simulate natural light changes, with the brightness gradually increasing at sunrise and gradually decreasing at sunset.
- Example: If you set the light schedule from 8:00 AM to 8:00 PM with brightness at 100% and a 30-minute sunrise/sunset setting, the lights will gradually increase from 0% to 100% brightness between 8:00 AM and 8:30 AM. In the evening, starting at 7:30 PM, the brightness will gradually decrease from 100% until the lights turn off completely at 8:00 PM.
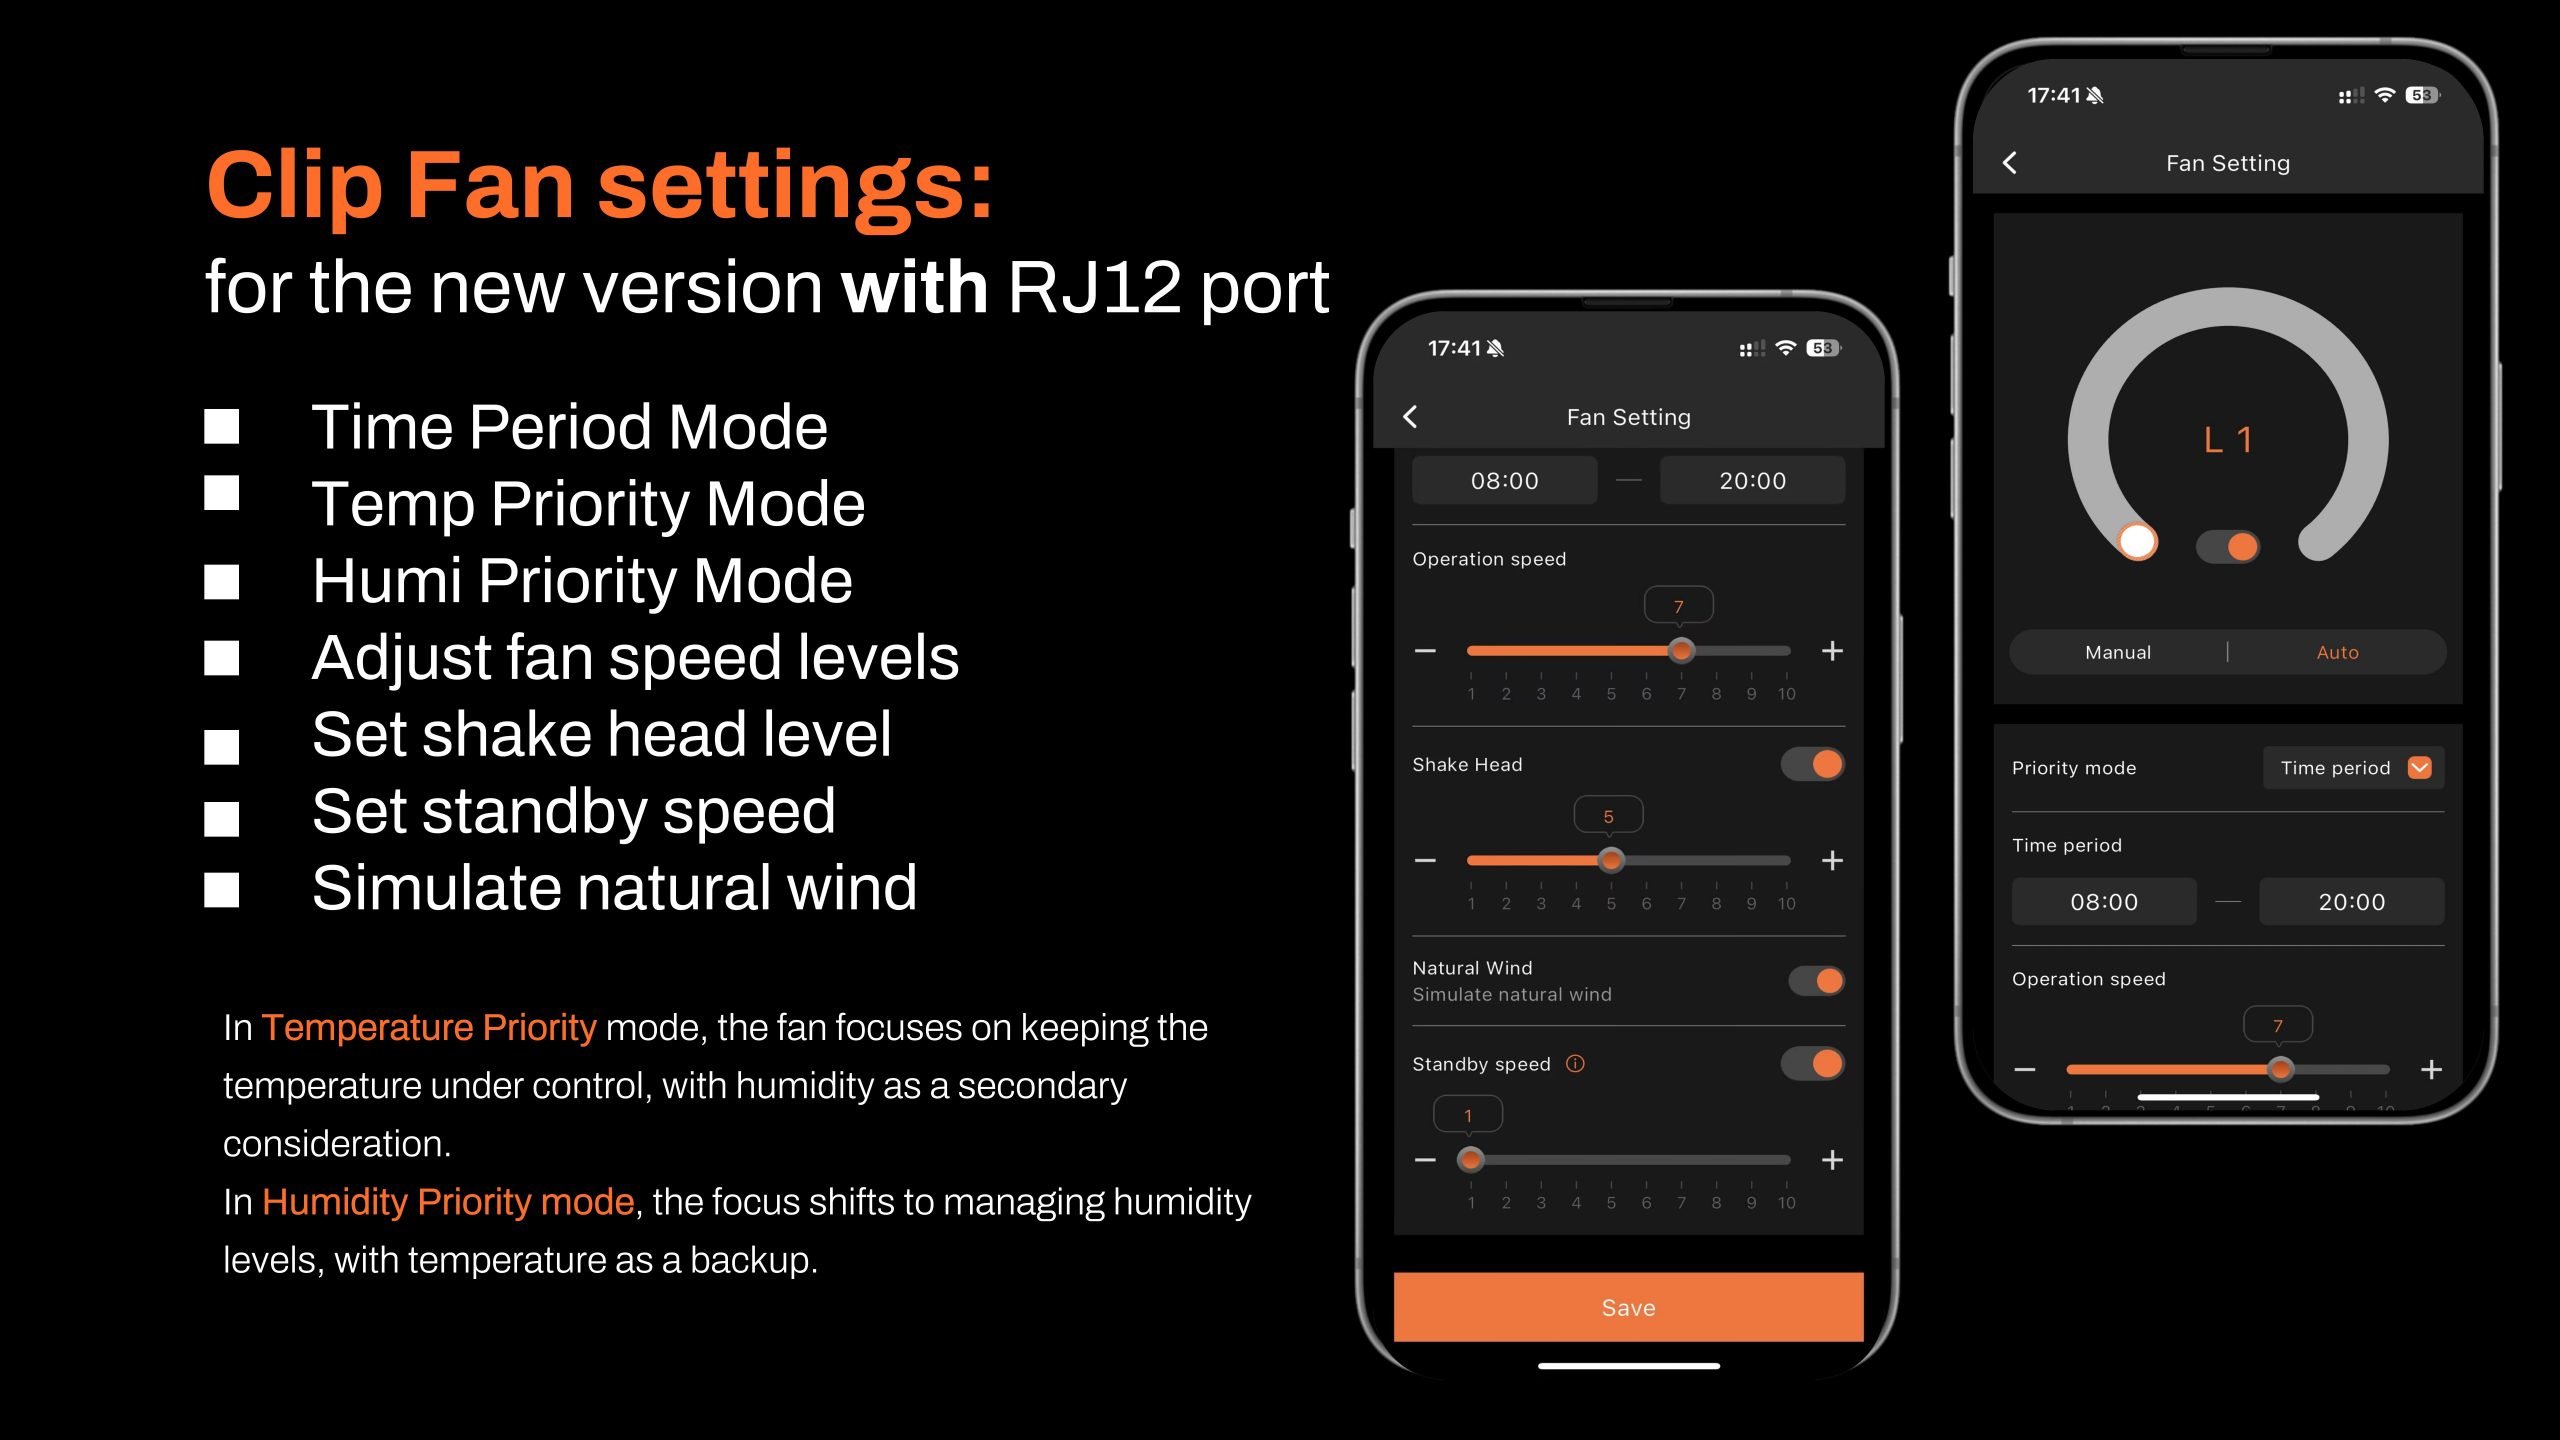
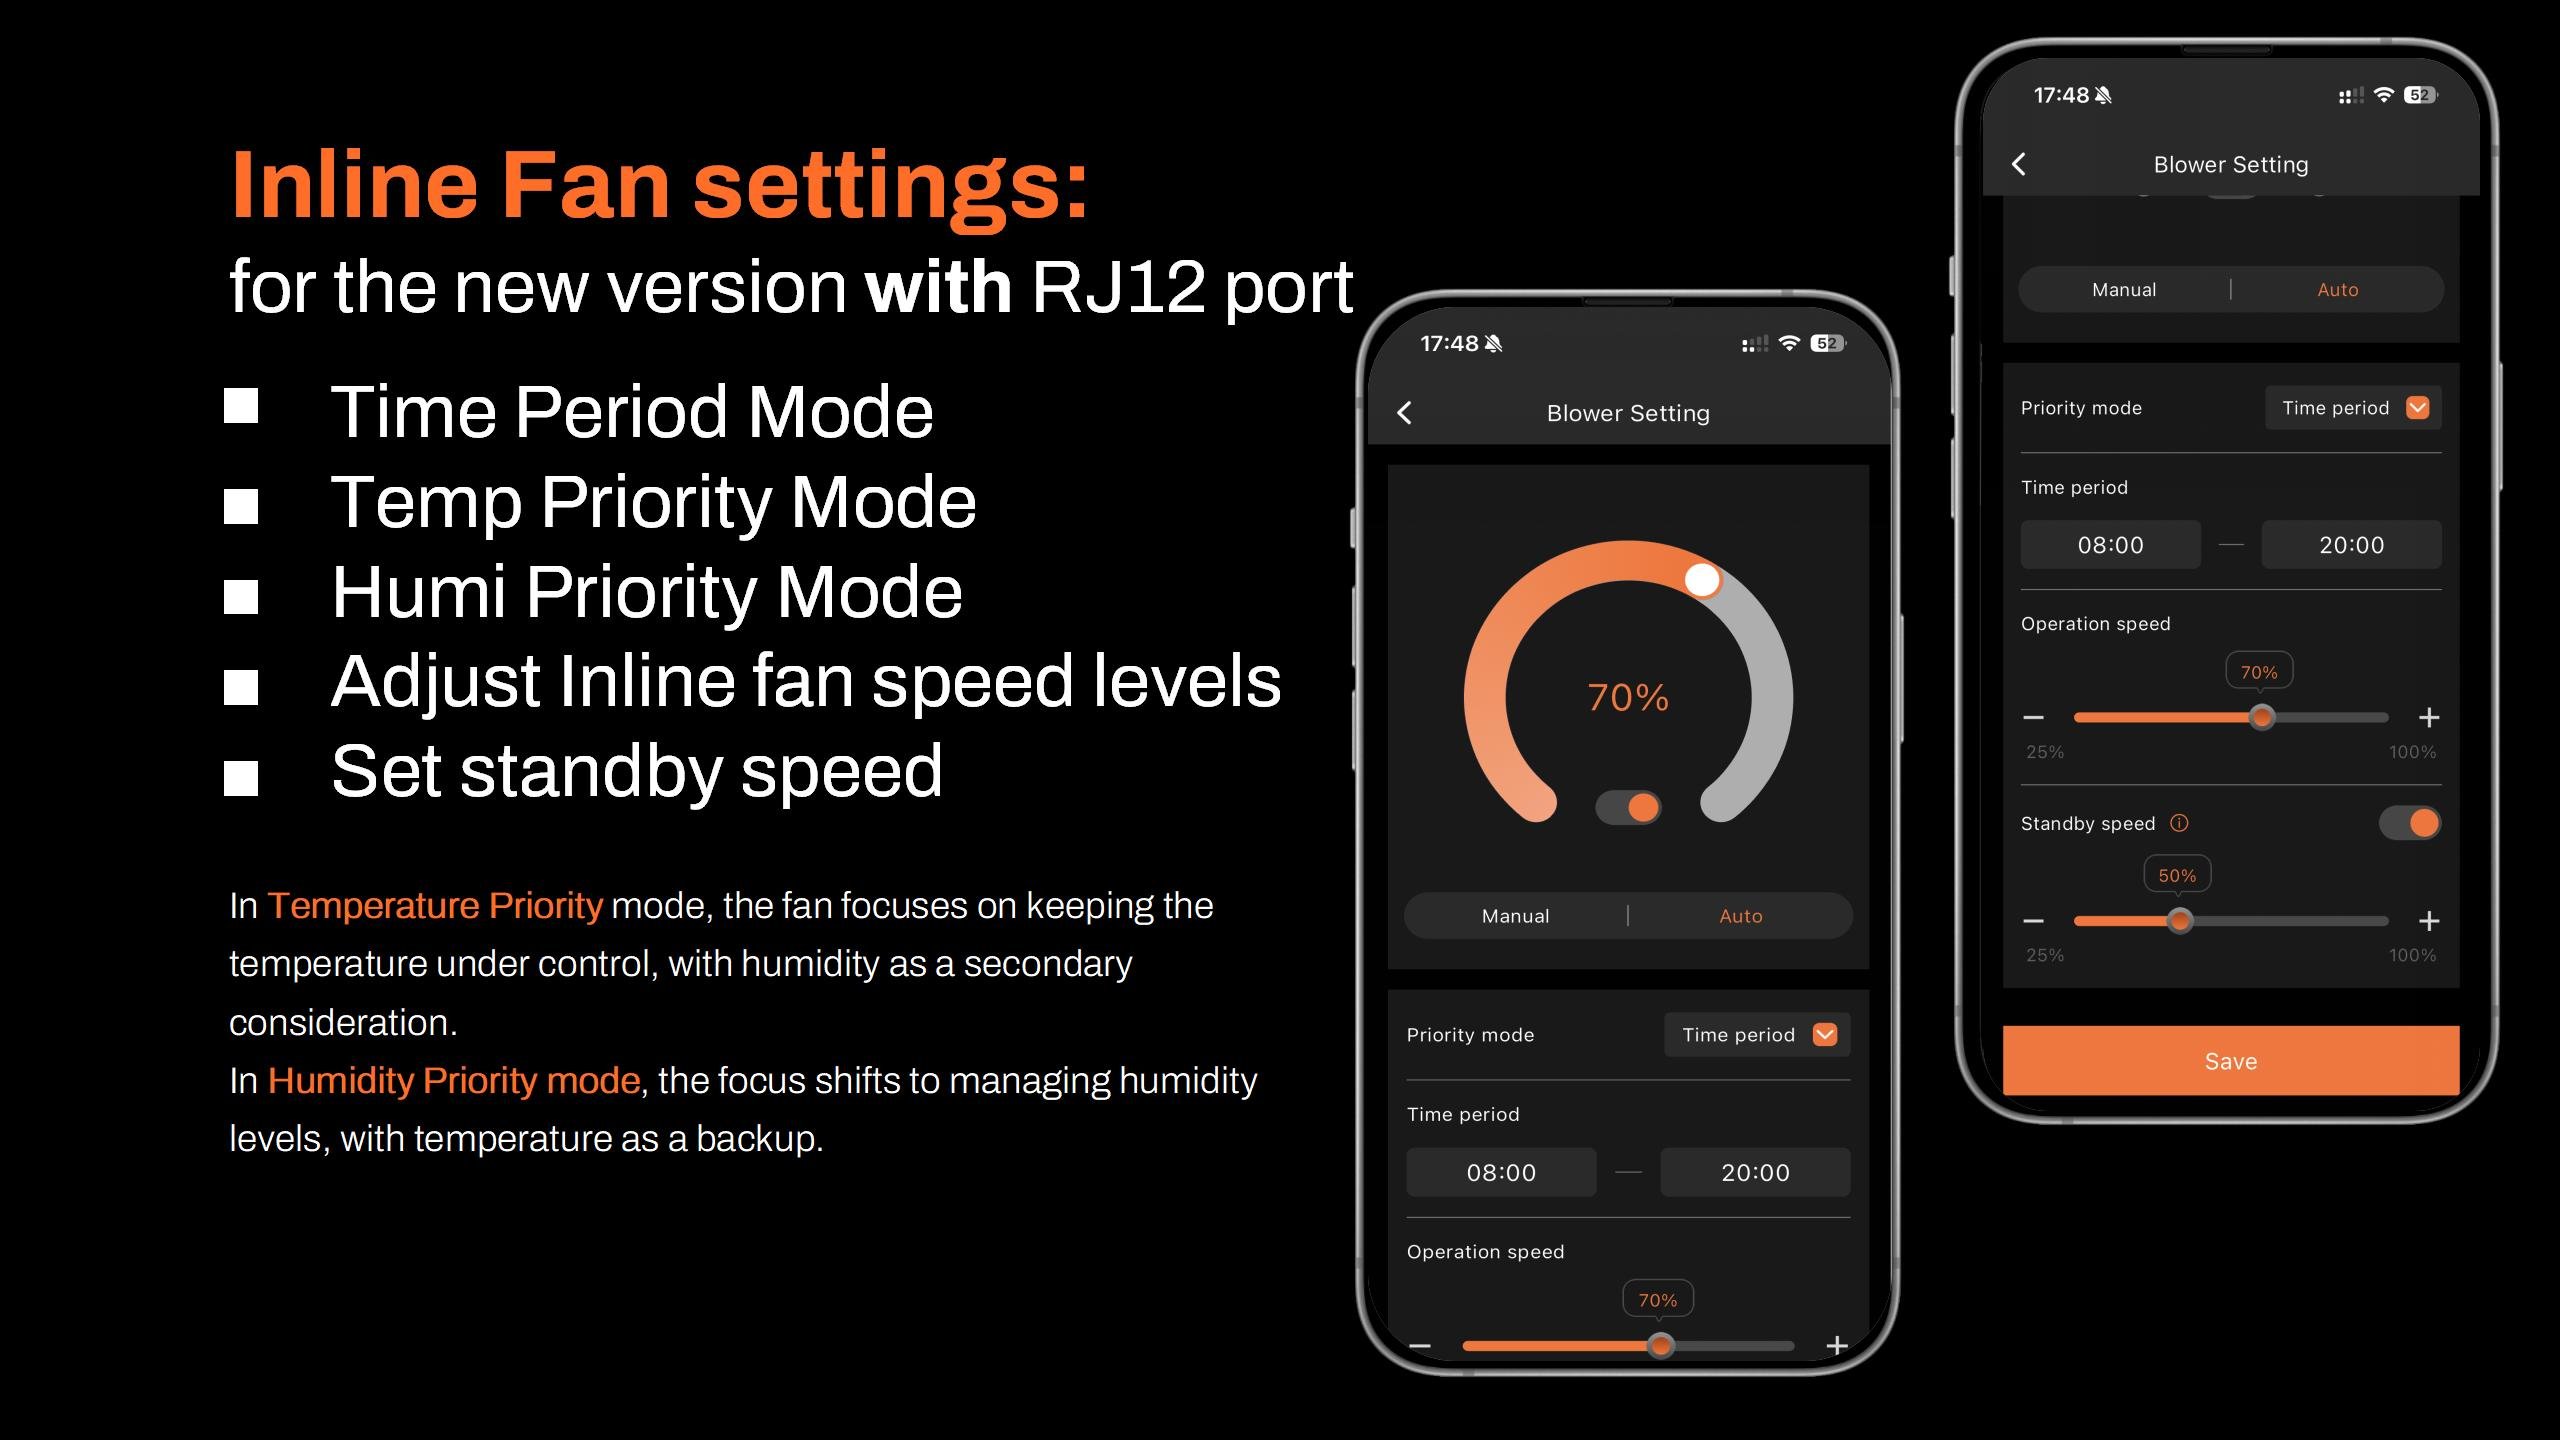
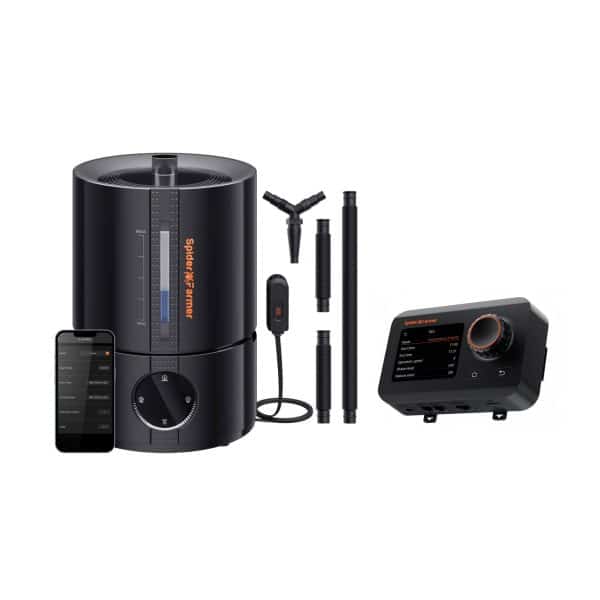
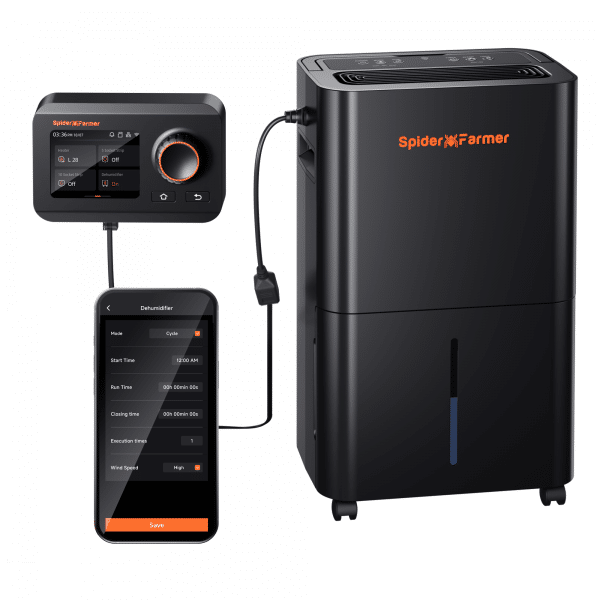
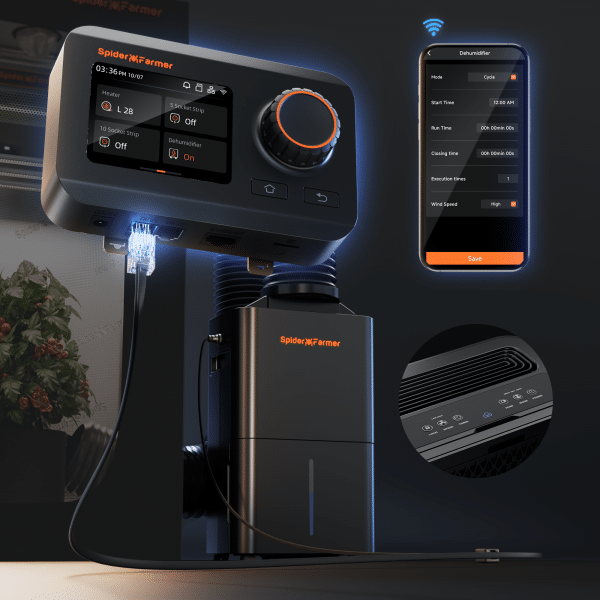
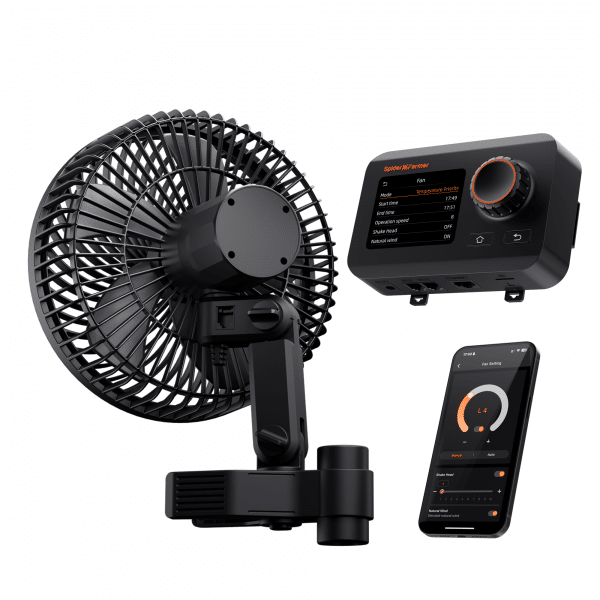
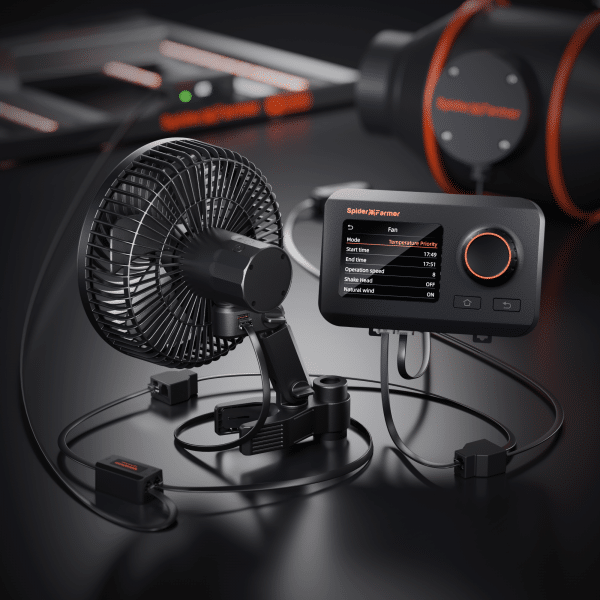
4. How to Control Clip Fans and Inline Fans
Key Steps in the Process:
- If your Clip Fan or Inline Fan has an RJ12 port (If your Clip Fan or Inline Fan has an RJ12 port (all models currently sold in the UK have an RJ12 port; if you purchased yours last year, you can check the body of the fan to see if it has an RJ12 port).), it will be compatible with both the Spider Farmer GGS controller and the GGS Power Strip. You can manage your Clip Fan and Inline Fan through the 'Fan (Clip Fan)' and 'Blower (Inline Fan)' options in the 'Device' section of the controller.

5. Other Settings
5.1 Sensor Calibration
5.1.1 Temperature Calibration: Adjust the temperature offset from -10°C to +10°C in 0.1°C increments.
5.1.2 Humidity Calibration: Adjust the humidity offset from -20% to +20% in 0.1% increments.
5.1.3 CO₂ Calibration: Adjust the CO₂ concentration offset from -200 ppm to +200 ppm in 10 ppm increments.
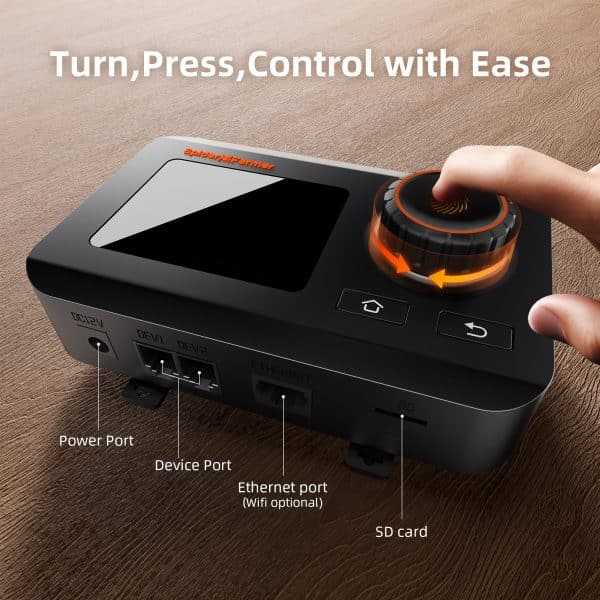
5.2. Screen Timeout
Set the controller screen to turn off after 1-10 minutes of inactivity, or select “Never” to keep it continuously on.
6. Keytone
Enable or disable button sounds.
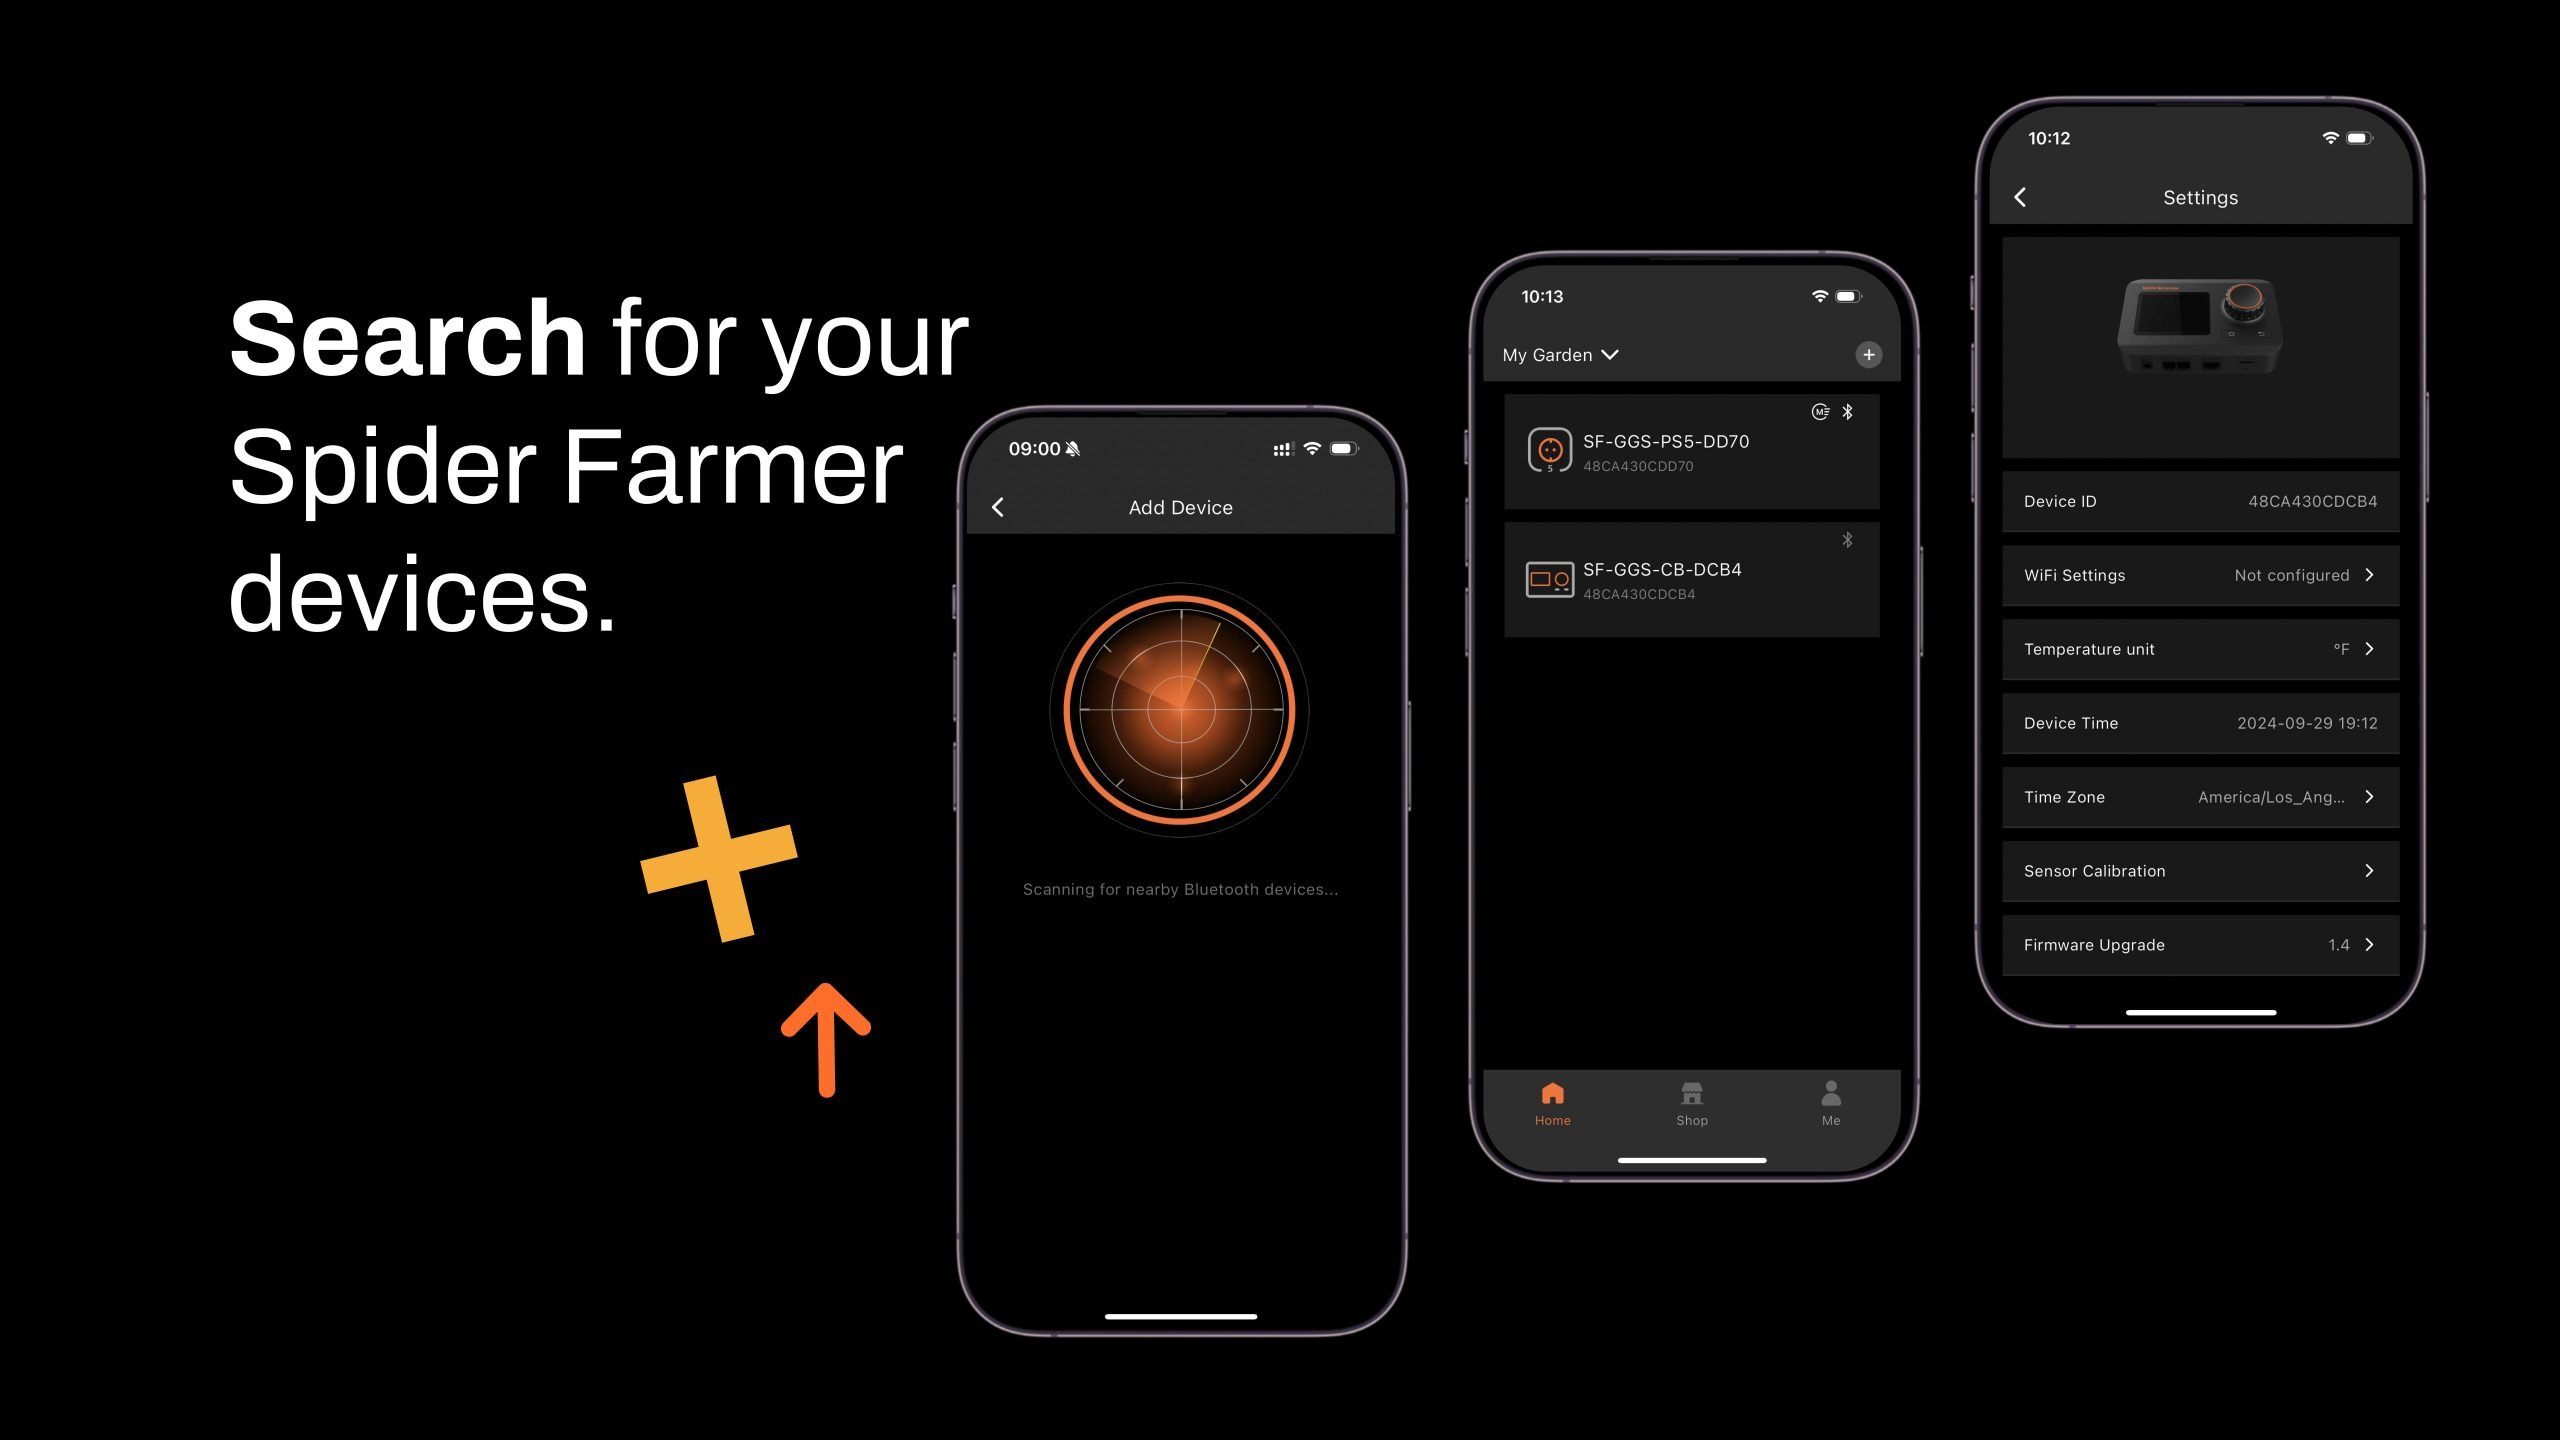
7. Firmware Update
Upgrade firmware via SD card or over the network.
8. Factory Data Reset
Restore the device to its original factory settings.


This unit is a game changer you can control every aspect of your enviroment anywere in the world through the app as long as your connected to wifi or mobile data i will be getting the upgraded sensor for sure 100% recommend what a fantastic upgrade